| blug | | | projx | | | links | | | about |
Minecraft engine with OpenGL
This is my first attempt at trying to recreate Minecraft in C++ with OpenGL.
Both jdh’s video and Low Level Game Dev’s series on the subject were a huge inspiration for this (as well as the source code of their projects).
The source code of this project is also available if you’d like to check it out.
Rendering blocks
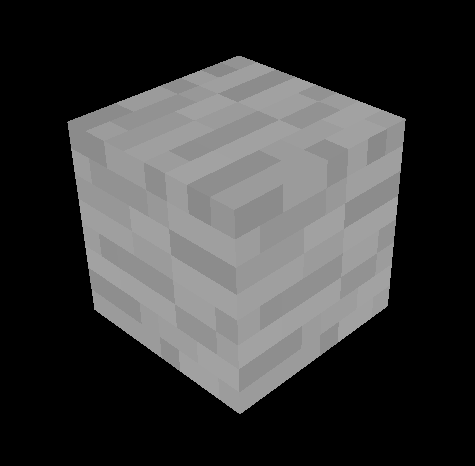
First, let’s render blocks to the screen.
We only have to store a block’s position and type. Since blocks are going to be stored in chunks (more on that later), we can define them as numbers.
using Block = unsigned char; // 256 possible blocks

enum BlockType {
	STONE, DIRT, SAND, (...)
};
For texturing, I’m going to use a single image called a texture atlas. It’s an image containing all of the game’s textures: this way we only have to send one texture to the shaders. Then, the idea is to “select” a texture using UVs. Here’s the one I made:

After loading it with stb_image.h, I defined more data:
// defines an offset in the texture atlas
struct BlockFace {
int x;
int y;
};
// now define offsets for each texture in the atlas
BlockFace stone = { 0, 0 };
BlockFace dirt = { 1, 0 };
BlockFace grass = { 2, 0 };
(...)
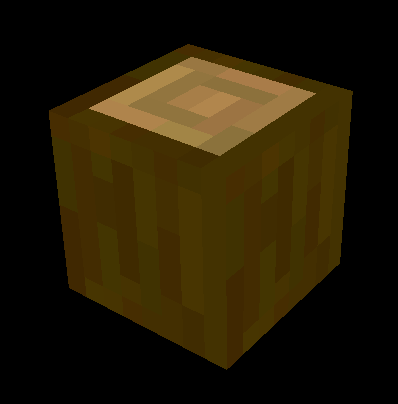
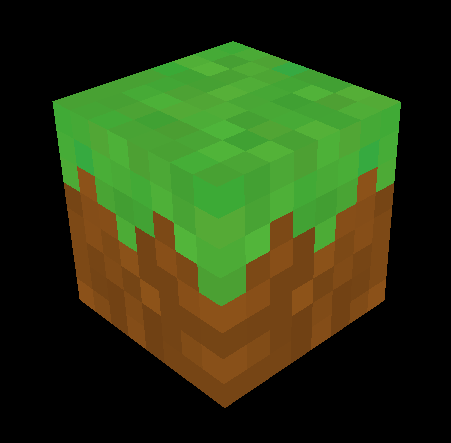
// define which texture goes on which face for each block
// order: back, front, left, right, bottom, top
BlockFace faceTexture[][6]{
{ stone, stone, stone, stone, stone, stone }, // STONE
{ dirt, dirt, dirt, dirt, dirt, dirt }, // DIRT
{ dirt, dirt, dirt, dirt, dirt, grass }, // GRASS
(...)
};
This makes it easy to add a new block: add a value in the BlockType enum, define more BlockFace texture coordinates (if needed) and add a new element to faceTexture.
I’m sending the cube UVs TexCoord (between 0 and 1) and the texture offset TexOffset to the vertex shader. To sample the right texture using an offset, I use TexCoord = (TexCoord + TexOffset) / n_textures, with n_textures being the number of textures in a line/column in the atlas.
Chunks
The world is going to be divided in chunks of 16 * 256 * 16 blocks.
The Chunk class stores blocks in a Block blockData[CHUNK_SIZE][HEIGHT_LIMIT][CHUNK_SIZE] 3D array. It also stores its own position in the world grid.
Now let’s say we want to render a completely filled chunk (65536 blocks). 65536 draw calls for each block is going to be very expensive performance-wise.
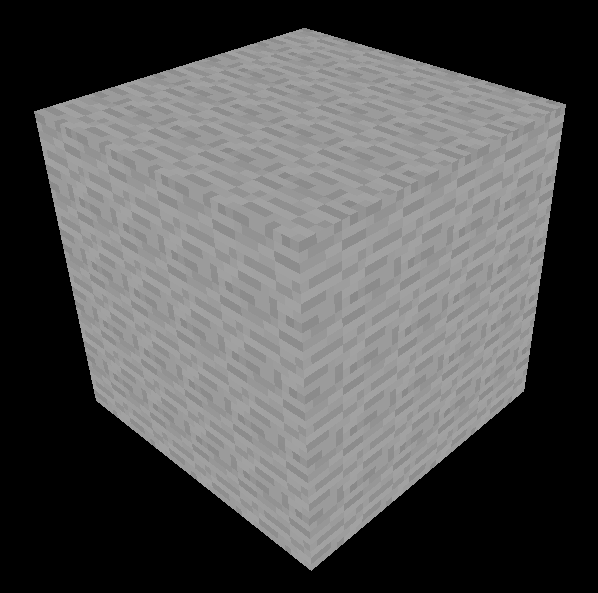
This is why I’m using a method called “baking” the chunk: this means constructing a single mesh for the entire chunk, making it cost only one draw call to render.
We just have to iterate over each block, and if it’s not BlockType::AIR, we add its 6 faces to the mesh.
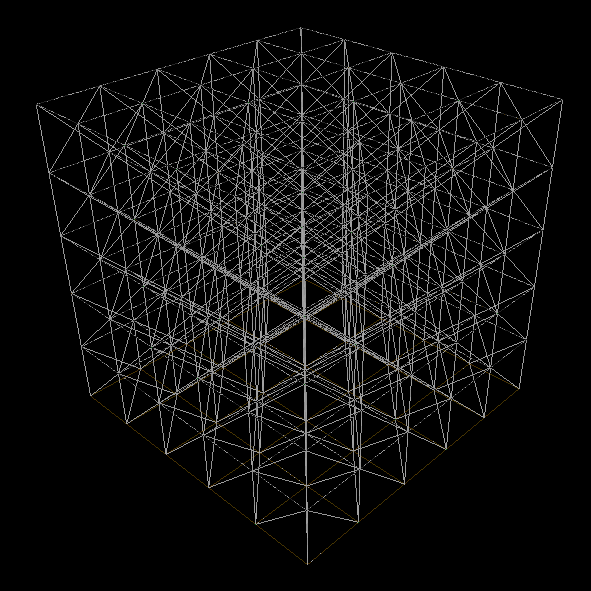
Now, there’s still room for optimization…
Some faces won’t ever be visible, so to bring down the triangle count, we can check if a face is “free” before adding it to the mesh (if a solid block is in front of a face, we don’t render the face).
I also enabled face culling, which doesn’t remove triangles, but makes OpenGL render less geometry.
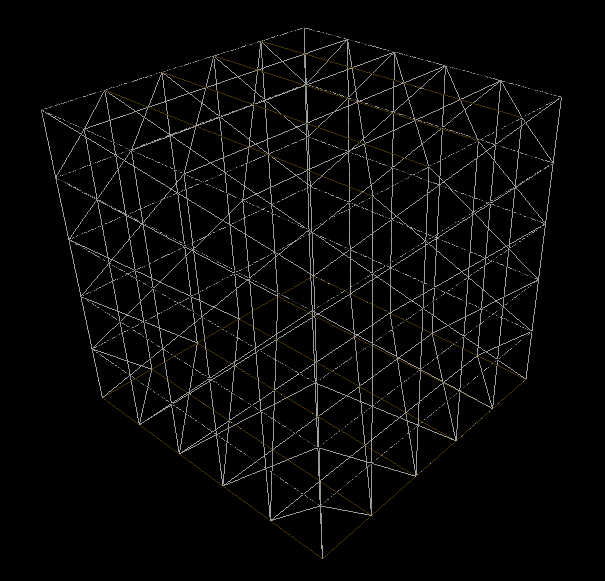
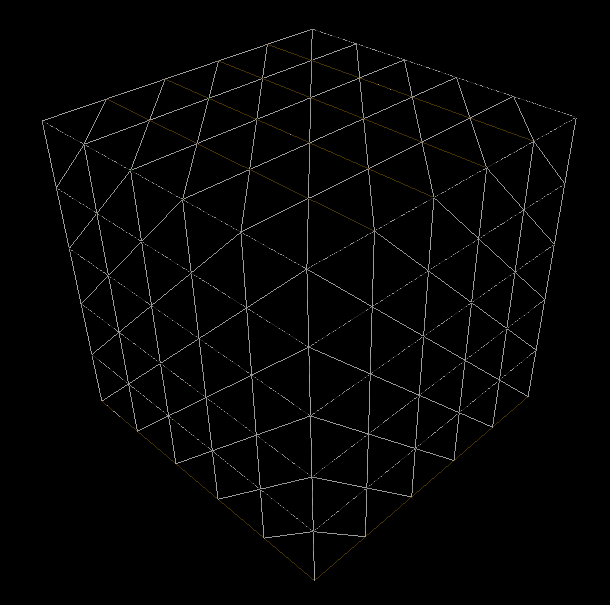
More optimization (like greedy meshing algorithms) could have been added but I’ll keep it like that for now.
Infinite world
Now we need to generate chunks as the player moves around.
After some research, I decided to build my ChunkManager class like this (simplified):
class ChunkManager {

    std::vector<Chunk*> loadedChunks; // keeps references to all the loaded chunks
    std::vector<Chunk*> unbuiltChunks; // chunks that are not baked yet (no mesh)
    std::vector<glm::ivec2> toLoadPositions; // chunk positions to load

    Chunk **visibleChunks; // subset of loadedChunks
    int visibleChunks_size;

    void update(Player *player) {
        // 1.
        toLoadPositions.clear();
        requestChunkPositions(player, &toLoadPositions);
        visibleChunks_size = toLoadPositions.size();
        // 2.
        requestChunks(visibleChunks, &toLoadPositions);
        // 3.
        buildUnbuiltChunks(player);
    }
}
Some explanation here:
-
We want to fetch the positions of the \((RenderDistance * 2 + 1)^2\) chunks around the player.
requestChunkPositions()loads these positions in thetoLoadPositionsvector. - Now, we want the actual references of the chunks.
requestChunks()iterates overtoLoadPositions. For each position, it looks intoloadedChunksto see if the requested chunk is already in memory:- If it is, the reference is added to
visibleChunks. - If it is not, a new chunk is allocated and added to
loadedChunks,unbuiltChunksandvisibleChunks.
- If it is, the reference is added to
- Then, we build the chunks that have not been baked yet.
The rendering function simply loops over visibleChunks, and if the chunk is built, then it calls its Chunk::render(Shader *shader) function.
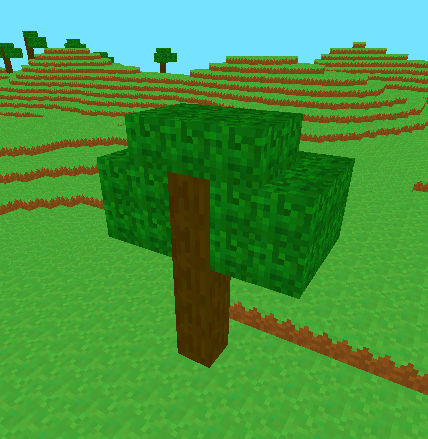
Here’s a test with small chunks that only contain 7 blocks:
The problem is that baking a chunk takes time! So instead of baking the entire unbuildChunks vector, let’s sort it by distance to the player and bake only the first element each frame.
void buildUnbuiltChunks(Player *player) {
    if (unbuiltChunks.size() != 0) {
        glm::ivec2 chunk_pos = getChunkPosition(&player->position);

        std::sort(unbuiltChunks.begin(), unbuiltChunks.end(),
            [chunk_pos](const auto& chunk_a, const auto& chunk_b) {
                return dist(chunk_a, chunk_pos) < dist(chunk_b, chunk_pos)
        });

        Chunk *chunk = unbuiltChunks[0];
        chunk->bakeMesh();

        unbuiltChunks.erase(unbuiltChunks.begin());
    }
}

At this point, within loaded zone, the game runs at around 30 FPS with RENDER_DISTANCE set to 5 (121 chunks). We can still optimize a bit more.
First, faces between chunks are rendered even though we can’t see them.
To fix this, I added a Chunk *neighbours[4] variable to the Chunk class. This way, when we check if a face on the chunk’s border is free, it can look into the neighbouring chunk’s data.
Also, remember I’m running a for loop on each loaded chunk, each frame. This means that the less chunks are in loadedChunks, the faster the loop will end.
So I added a checkFarChunks(Player *player) function to remove chunks from loadedChunks if they are too far and haven’t been modified by the player.
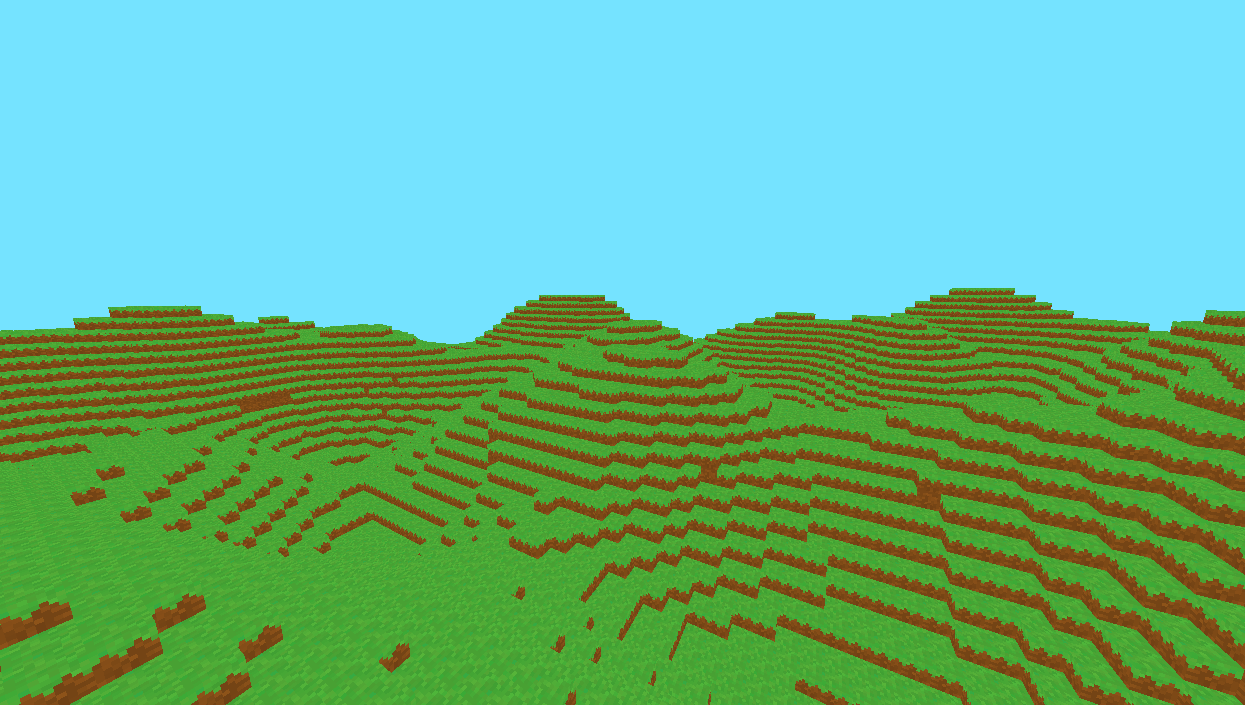
World generation
It’s finally time to get into world generation! I’m using the FastNoise2 library for everything noise-related. Minecraft uses a 3D noise for its generation, but I’m only going to be using a 2D heightmap for now.
I went over other generation techniques in this article, so check it out if you’re interested.
The World class is used to store a ChunkManager, a seed and noise parameters.
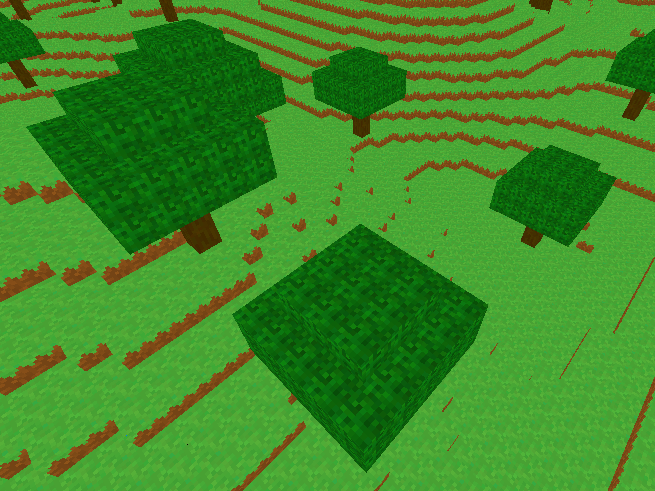
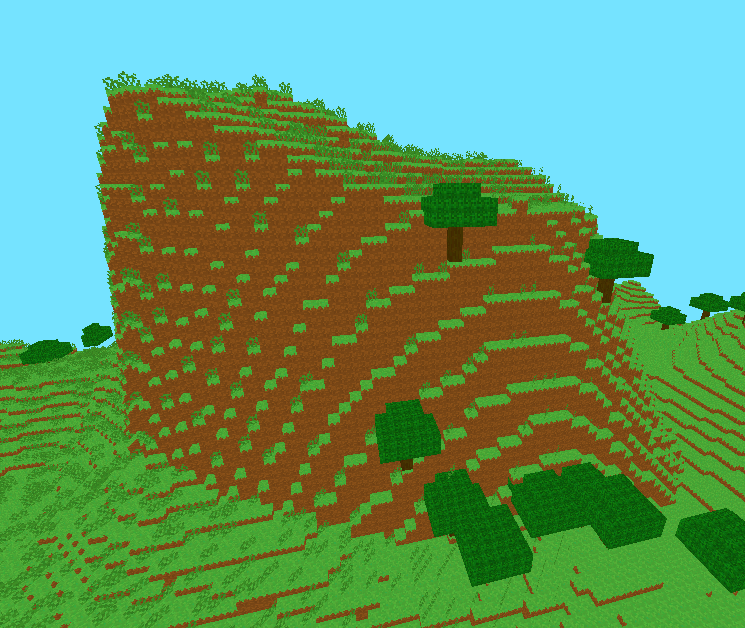
A World::generateChunk(Chunk *c) function fills a chunk’s block data using noises. Here’s a first test:
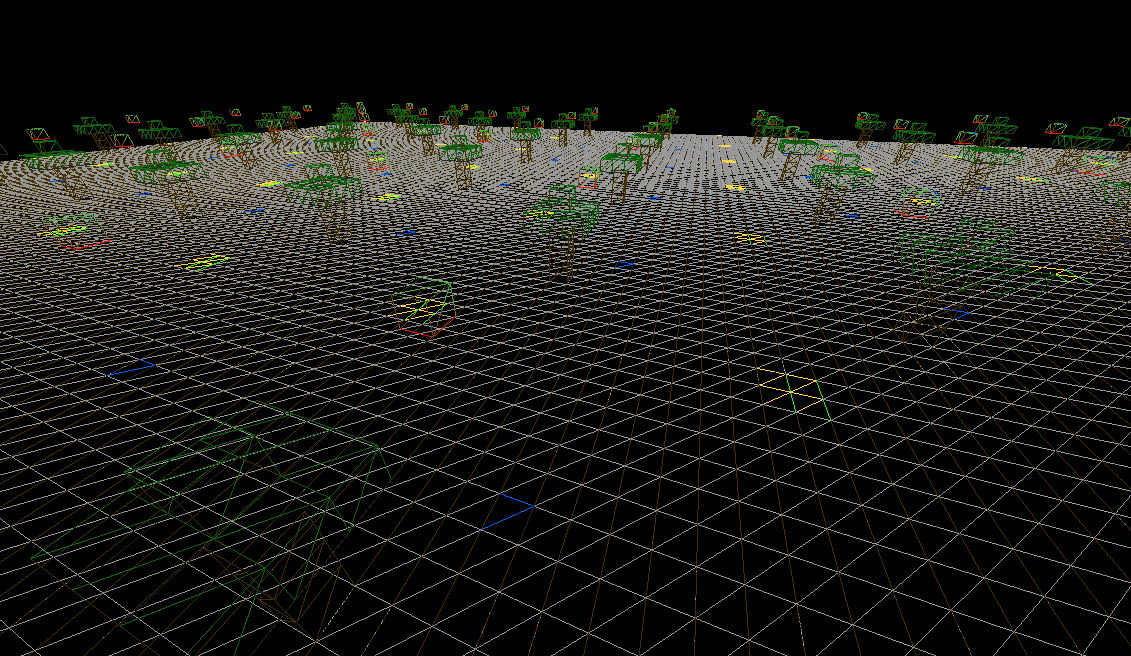
Placing trees
I decided to keep the terrain simple at first and went on to place trees (which are going to be defined as structures in the world). I made a new struct to store a structure:
struct Structure {
    int blocks[20][8*8]; // y, xz
    glm::ivec3 dim;
};

Structure tree = {
    {
       {0,0,0,0,0, // indices of each BlockType (easier to read)
        0,0,0,0,0,
        0,0,6,0,0,
        0,0,0,0,0,
        0,0,0,0,0},
        (...)
    },
    {5, 6, 5} // dimensions of the structure (x, y, z)
};
I made a World::placeStructure(Structure *s, Chunk *c) function to place structures. Using another noise, I computed forest patches and gave trees a \(1 / 100\) chance of spawning in a forest. But there’s a problem… Since this tree must have been placed on the side of a chunk, half of it got cut out.
The idea to fix this is, when a block can’t be placed by the placeStructure() function because its coordinates are out of bounds, the World object needs to remember and “cache” this block.
To stored cached blocks, I made a simple struct CachedBlock containing a block type and its position.
I used a std::map<int, std::vector<CachedBlock>> object to store which blocks were cached in which chunks (with the map’s keys being a chunk’s hash code calculated using its position).
Now when a block can’t be placed in a chunk by placeStructure(), it finds the right neighbouring chunk c to place it in. The new CachedBlock is added to the cachedBlocks[hashCode(c)] vector.
Finally, when a chunk is requested, we check in cachedBlocks if there are any cached blocks in this chunk. If so, we place the blocks and add the chunk back to unbuiltChunks to recalculate its mesh.
Since terrain is quite empty like this, i wanted to add grass as well. In Minecraft, the grass block model is actually two intersected quads. So I just added a separate mesh type that can be added when the chunk bakes its mesh.
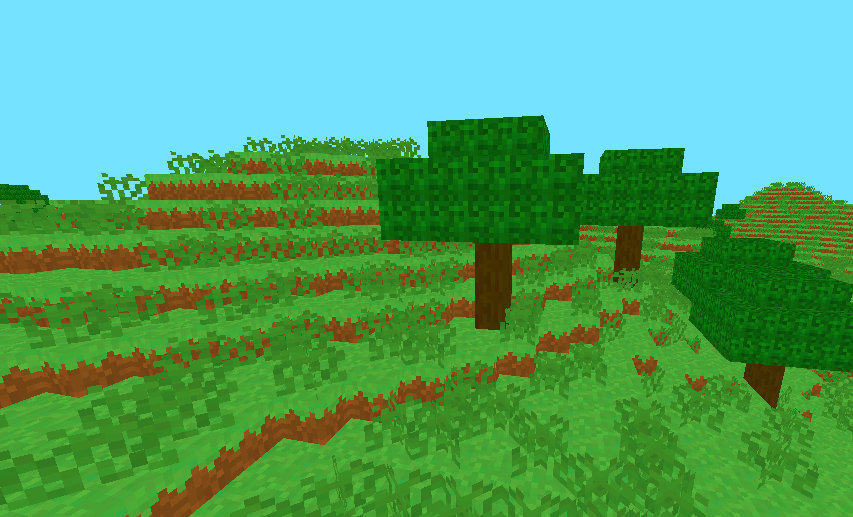
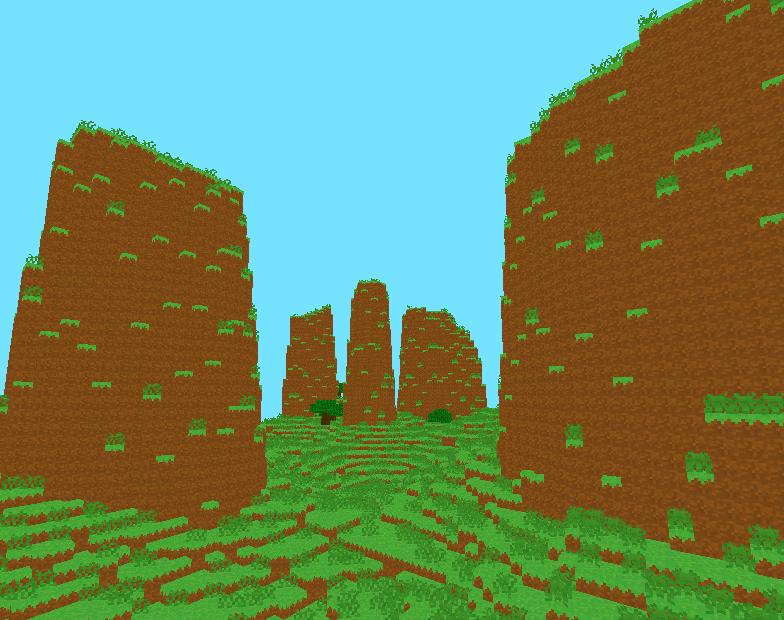
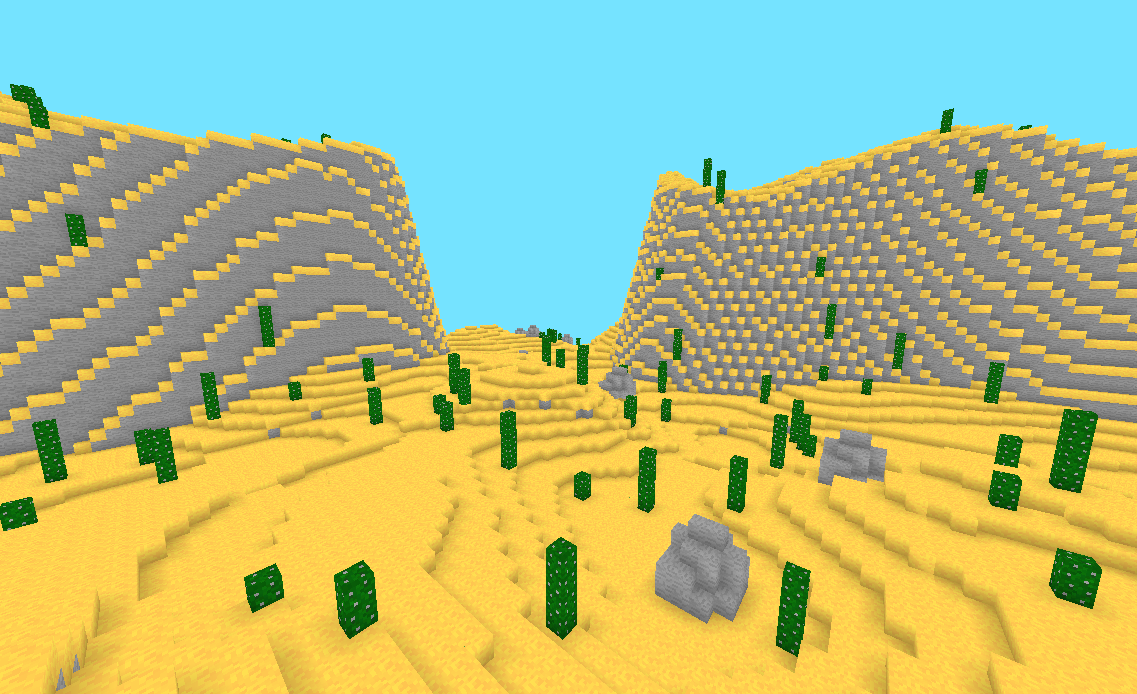
Then I decided to actually give more shape to the terrain using techniques that are described in this video (basically another noise and a spline to decide the block height).
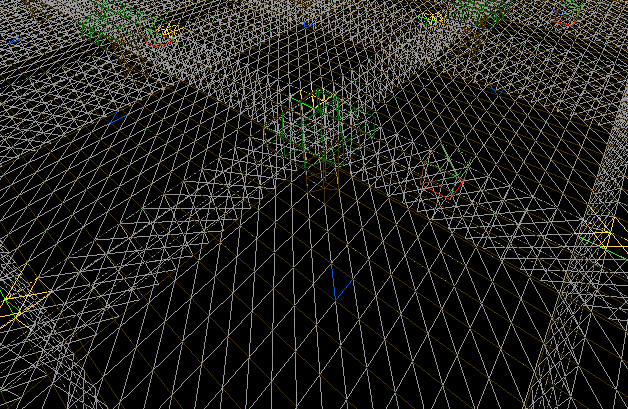
Ambient occlusion
Even though I liked this “no lighting whatsoever” look, I needed to add ambient occlusion to distinguish blocks more easily.
I based my code on this article on 0fps.net about voxel-based ambient occlusion (AO).
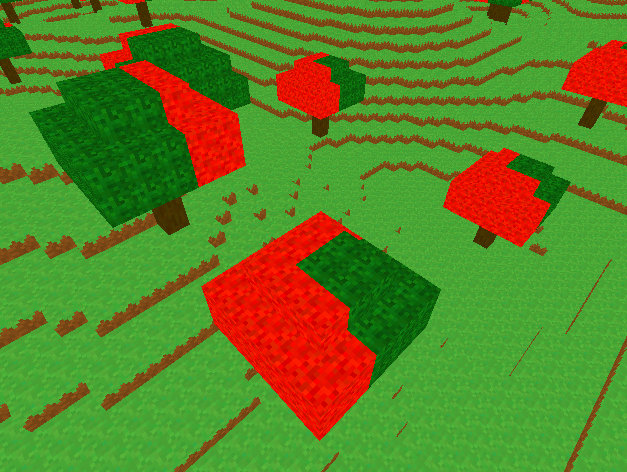
The take-away here is that each vertex can have one of 4 AO values (between 0.0 and 1.0) calculated using the corner and side blocks. Then, in the fragment shader, the block’s color is multiplied by the vertex’s AO value, effectively darkening certain edges. Here’s a visualization with disabled textures:

Day-night cycle
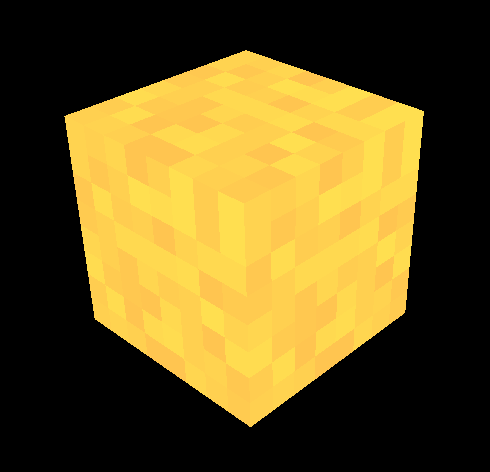
For more visual effects, I tried adding a day-night cycle.
There are two blocks (Sun and Moon) rotating around the player. I’m rendering them before I render the world, so that they’re always in the background.
Then, instead of using a constant clear color for the sky, I sample a color gradient with a World.time variable.
I also calculate a lighting value based on time, and send it to the block shader as a uniform. This effectively makes the blocks darker at night.
Here’s a GIF showing the effect (with a high time speed):
Breaking and placing blocks
It’s probably the most important gameplay mechanic, but I kept it for last…
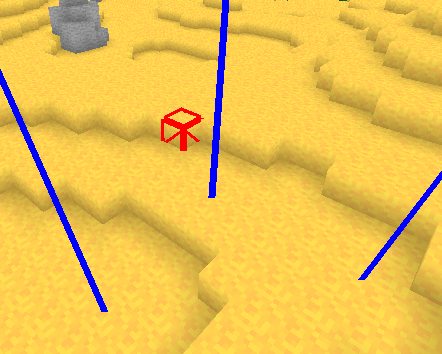
I’m going to use a raycast to detect which block is being looked at.
First, we get the chunk where the camera currently is. This is going to be the initial currentChunk. The initial ray position is the camera’s position.
Then, we loop while the max raycast distance is respected, and the current ray position isn’t inside a solid block. We add a bit of the camera’s \(\vec{front}\) vector to the ray position at each step.
We also need to check if the ray is going out of the current chunk’s bounds. If it is, just switch chunks using the current chunk’s neighbors.
Once we know the targeted block and the chunk in which it is, it’s easy to break it. When a block is broken, the chunk’s mesh has to be baked again.
We also need to recalculate the neighbouring chunk’s meshes if the broken block was on a border. We can afford baking them all at once since there will be at worst 3 meshes to recalculate. Also, the result has to be instantaneous.
Placing blocks
The raycast function also gives us the coordinates of the adjacent block to the face that was hit. This is useful for knowing where to place a block.
I made a Block inventory[9] array, and made the currently selected block render to the corner of the screen. The player can select blocks by scrolling the mouse.
Now we can build a little house!
The basic features are now working. I’m going to stop adding some for now, but there could be a lot more to cover.