| blug | | | projx | | | links | | | about |
Room generation using edge extrusion
I was looking into generating apartment-like level layouts for a game prototype. Working with Python is easier to test the algorithm, hence this first implementation.
I came up with the rectangle based algorithm, but there is a high chance it already exists somewhere else.
Simplified algorithm
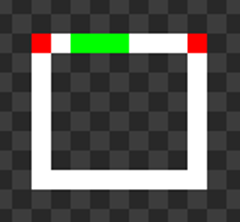
This is a pseudo-code version of the algorithm I used. extrude(rectangle) is a function that chooses a random edge from rectangle, and extrudes it in three directions: front and two sides.
extrude(rectangle) can be called multiple times to generate multiple openings, hence the invalid edges list to prevent from extruding the same edge multiple times.
extrude (rectangle):
    edge = random edge from rectangle that is not an invalid edge
    add the edge to the rectangle's invalid edges

    make an opening in the chosen edge

    extrude edge in front
    if extruded edge hit a wall:
        add the edge to the rectangle's invalid edges

    if edge could extrude enough in front:
        extrude edge on the sides
        if extruded edges hit a wall:
            add the edge to the rectangle's invalid edges

        create new rectangle using the extruded edges
        extrude (new rectangle)

base rectangle = rectangle in the middle of the image
extrude (base rectangle)
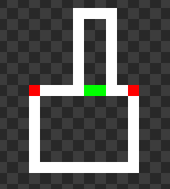
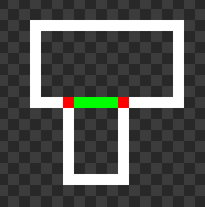
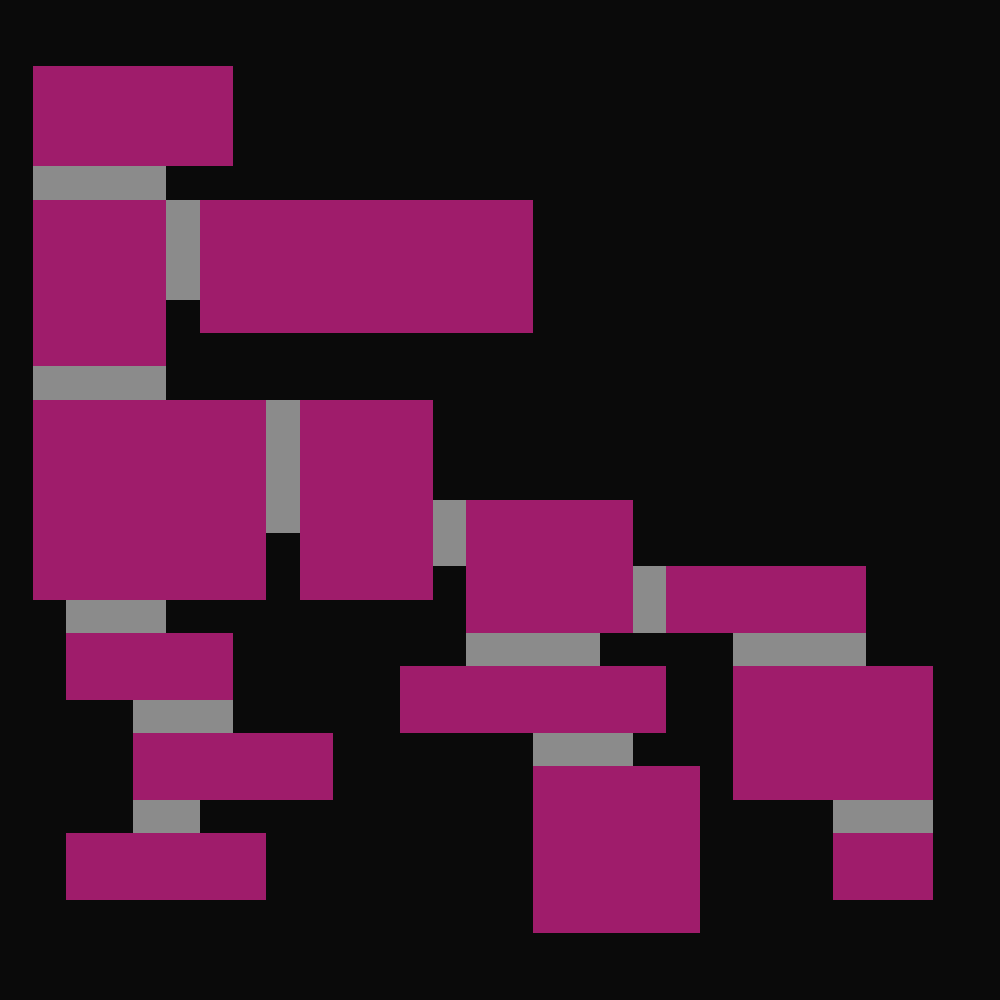
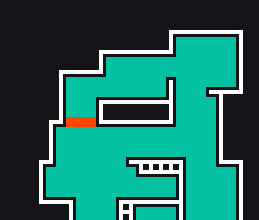
Here is an example on a rectangle being extruded (the base rectangle is always the bottom one, and is not the same every time):
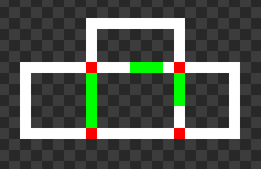
And here is an example of a rectangle being extruded multiple times (on the left, right and top). Though, for the first generations I only made it so a single edge could be extruded.
Generations
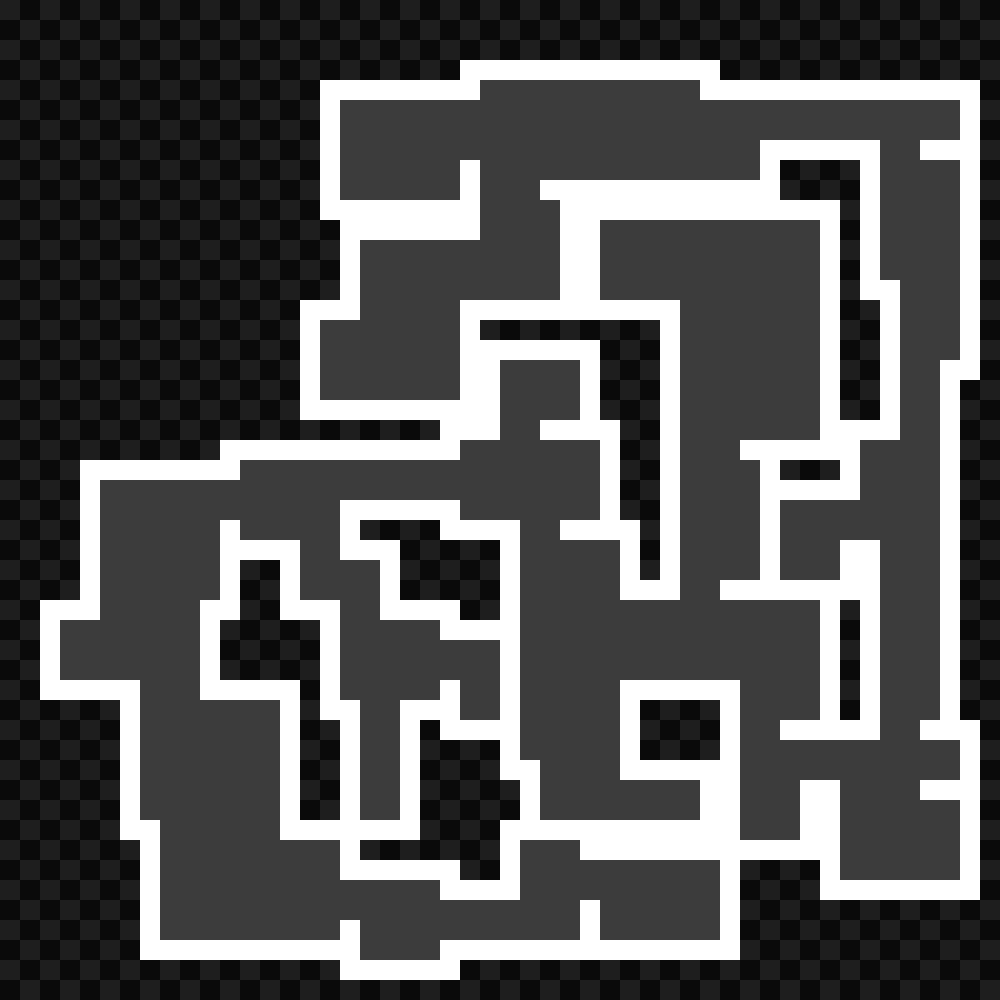
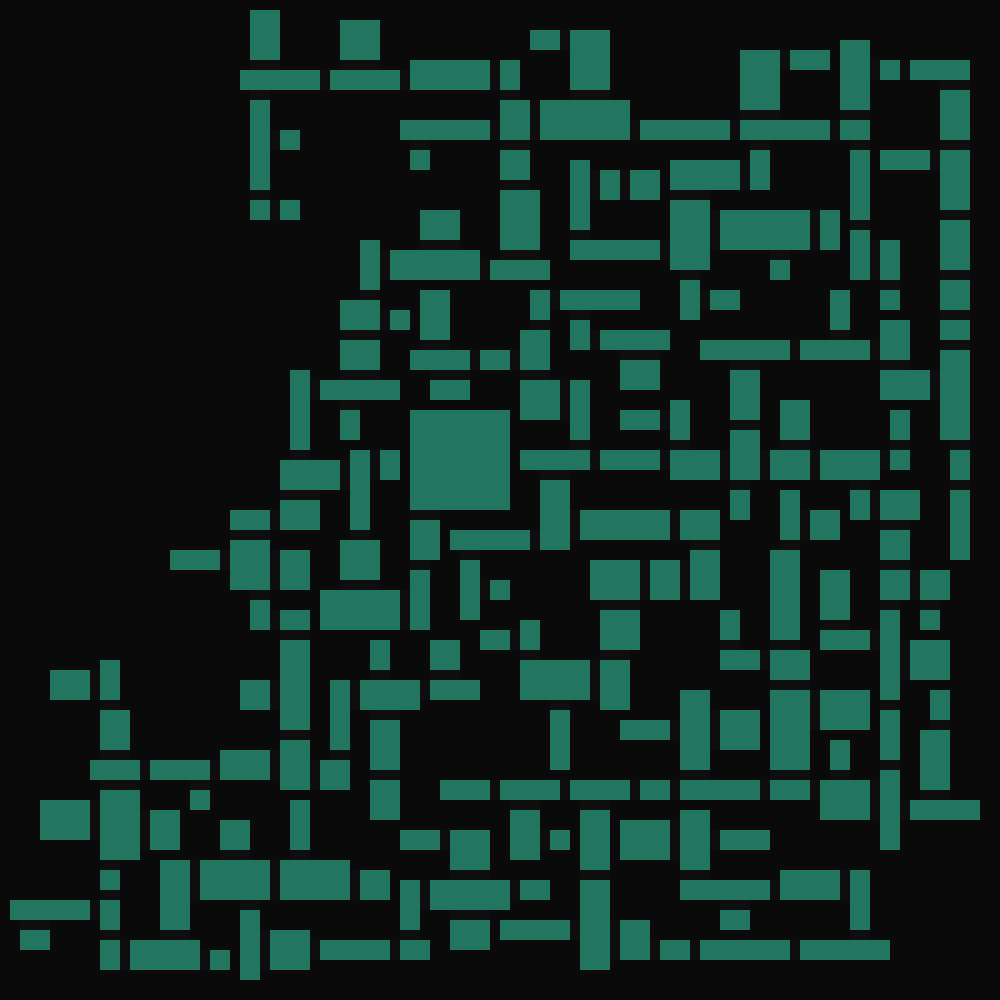
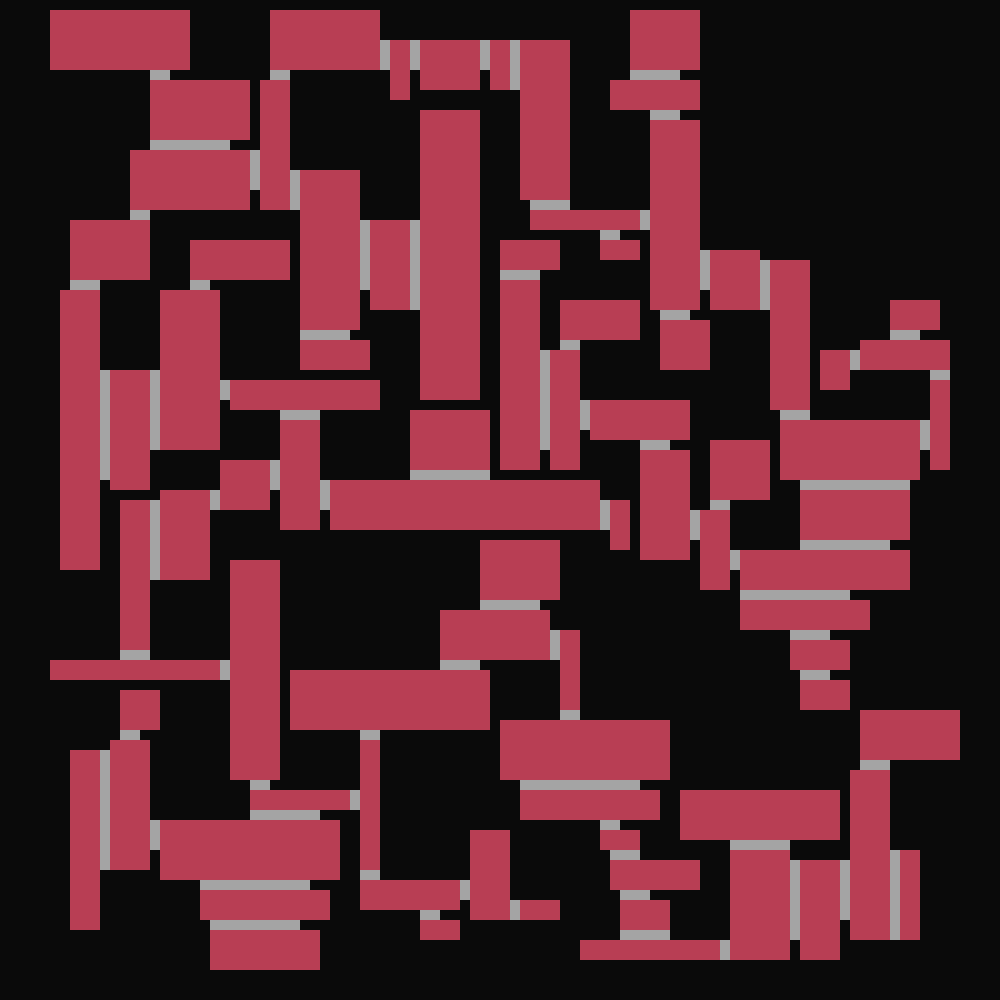
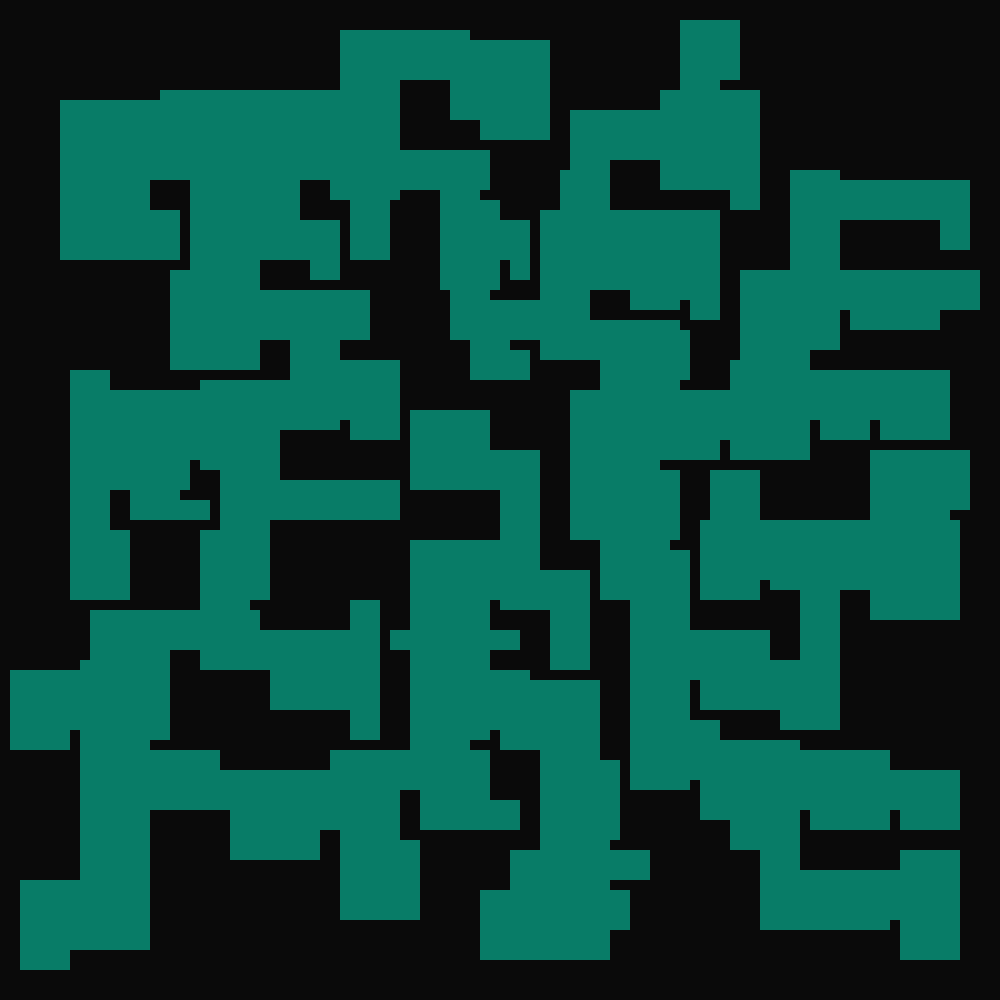
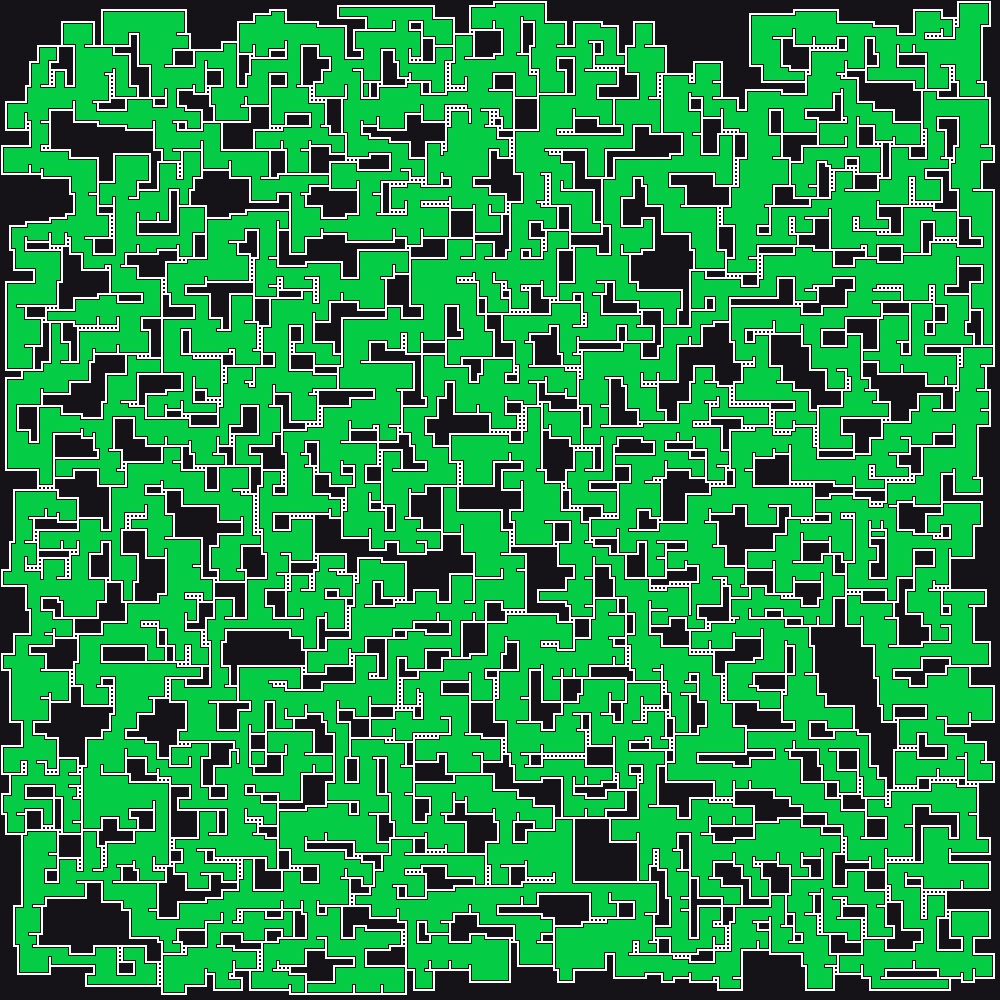
In the beginning there were still problems with extruding edges not stopping when they hit a wall, which caused some overlapping. This is the first working version on a large image.
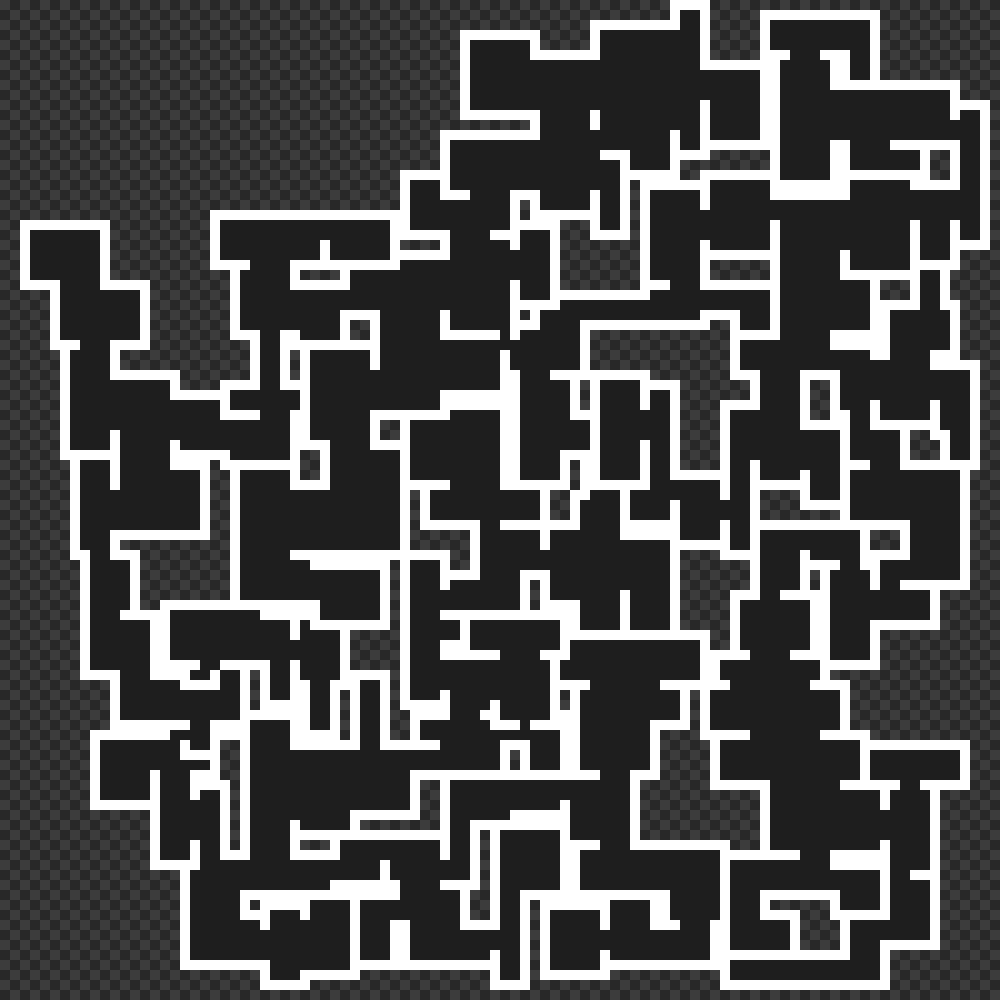
The little artefacts generated by the overlapping bug make interesting shapes, but isn’t very playable…
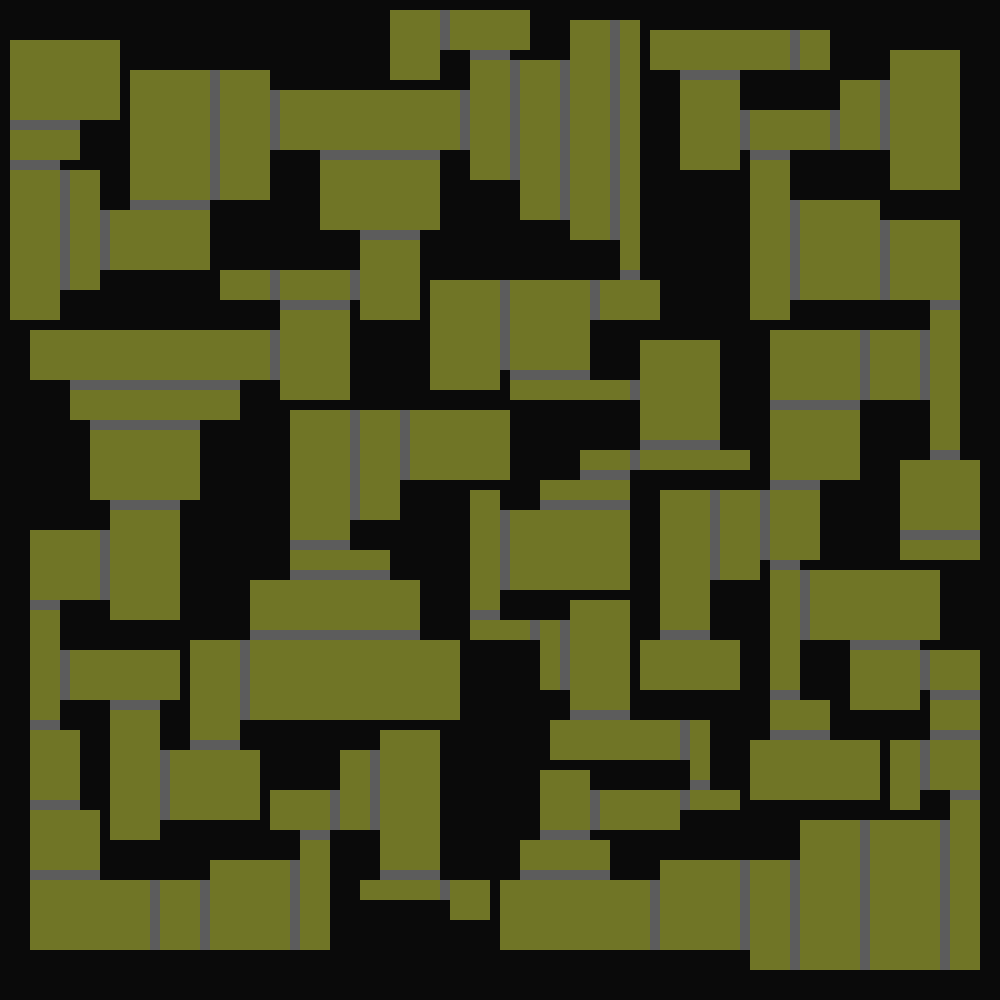
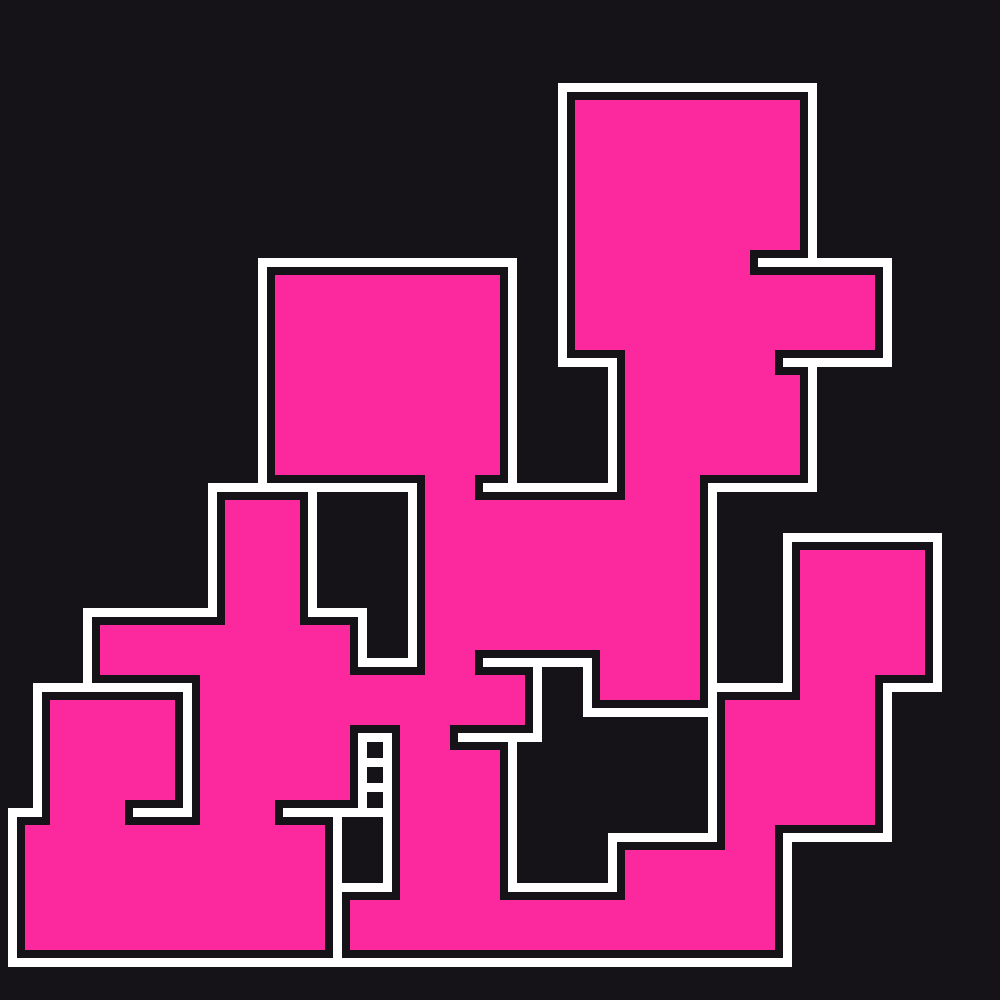
I then tried to make smaller rooms. This one generated openings from multiple edges, and actually worked quite well compared to the previous ones.

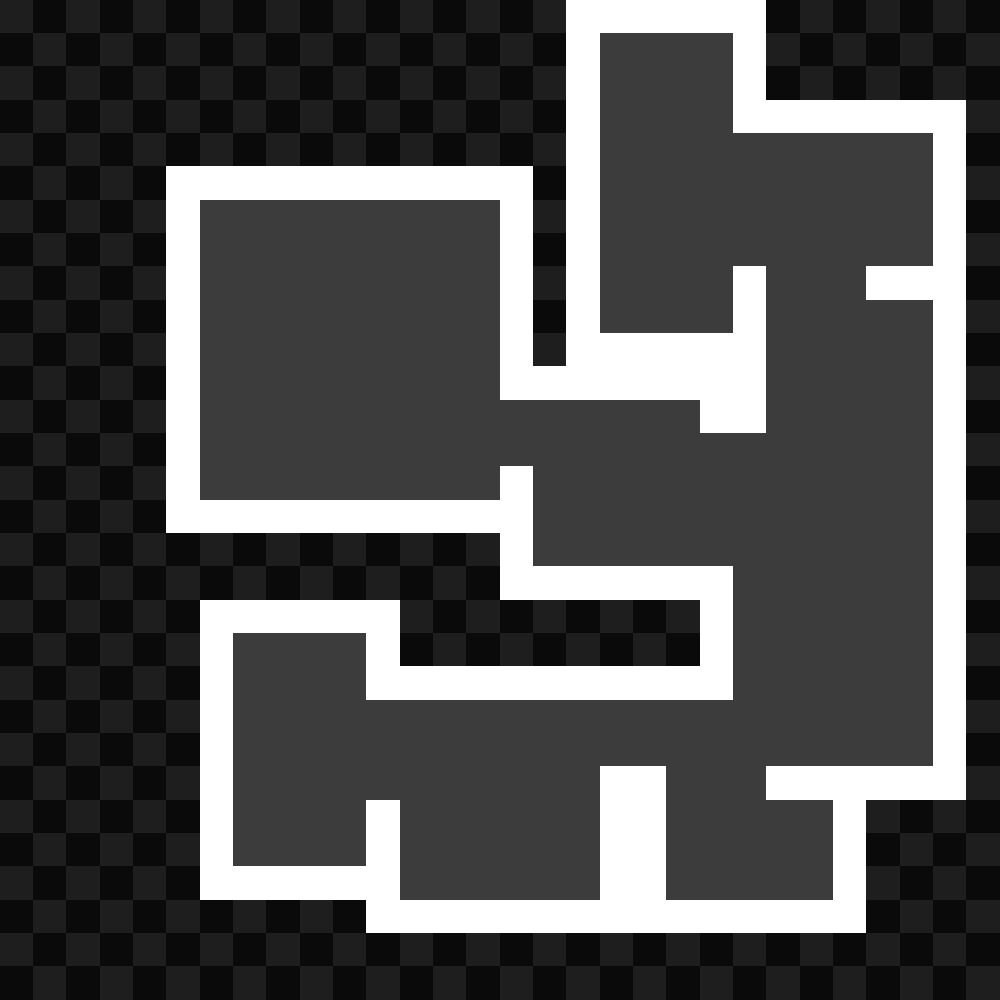


These small ones could be used as floors or levels, since their size is more manageable.
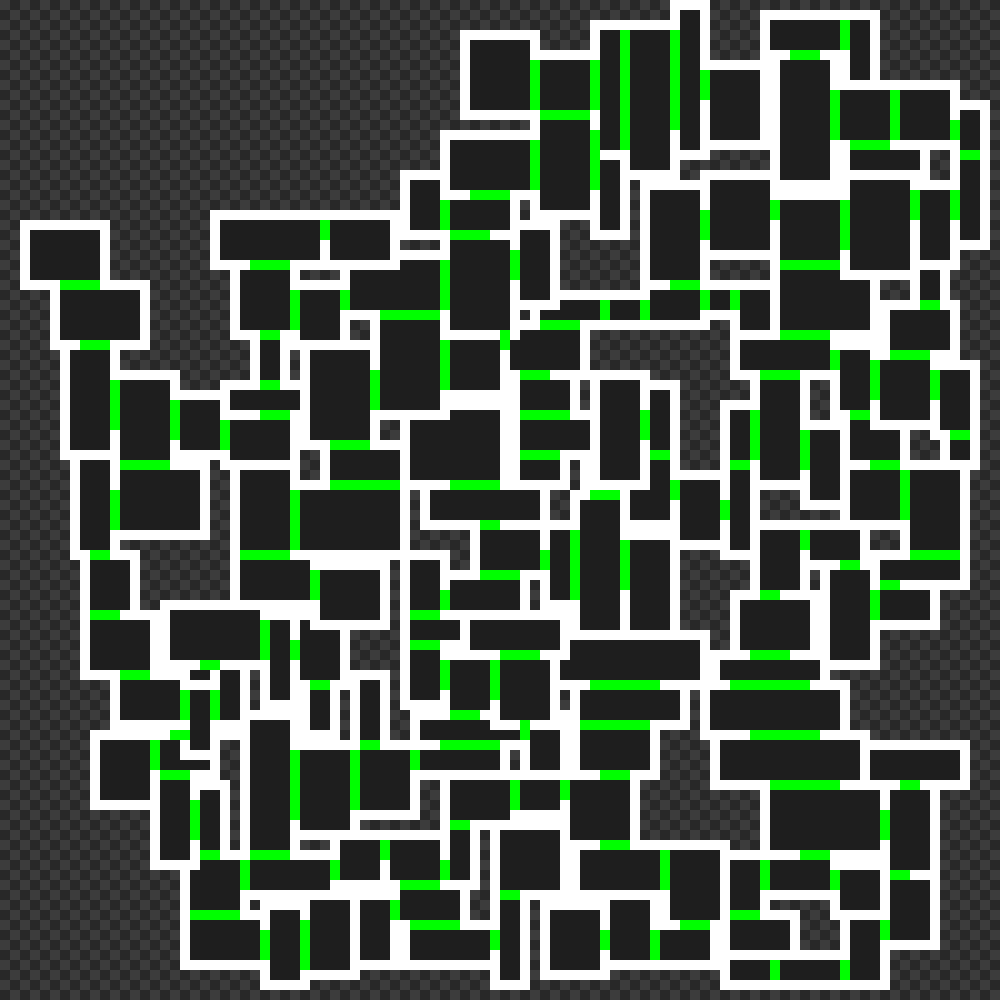
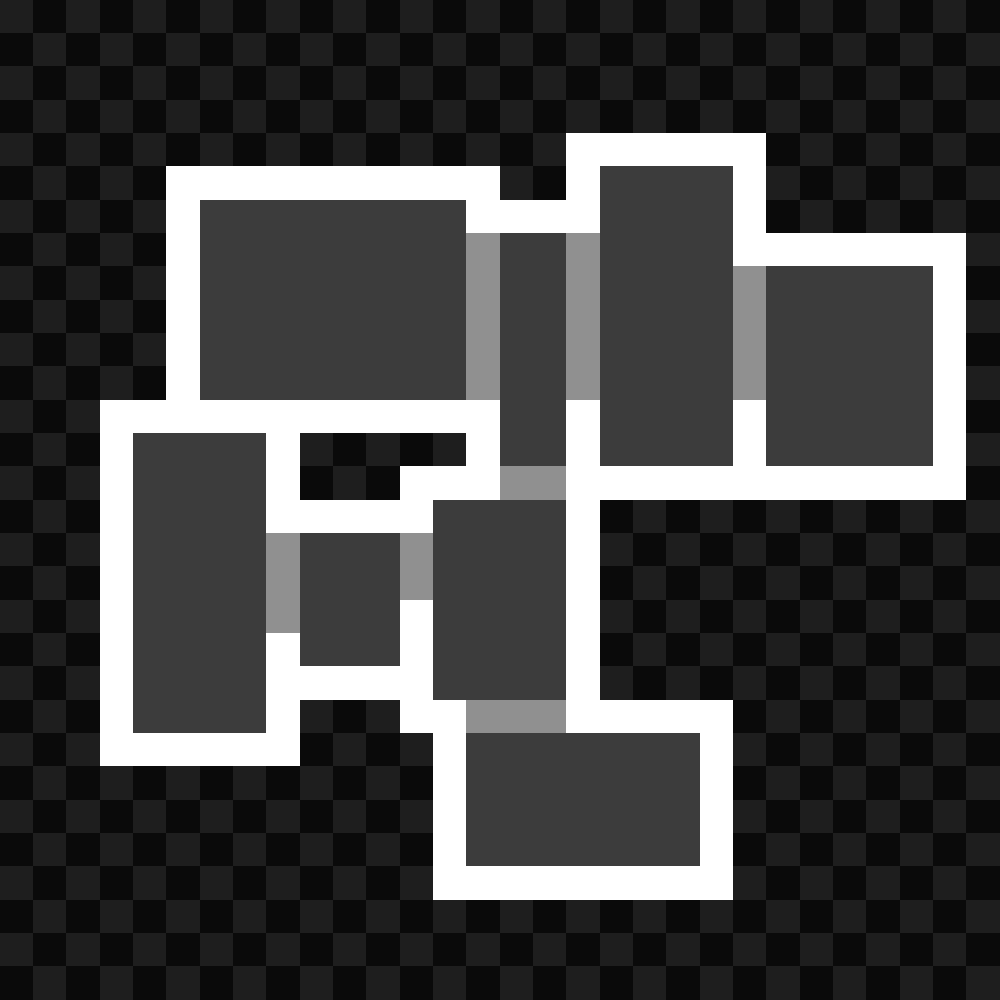
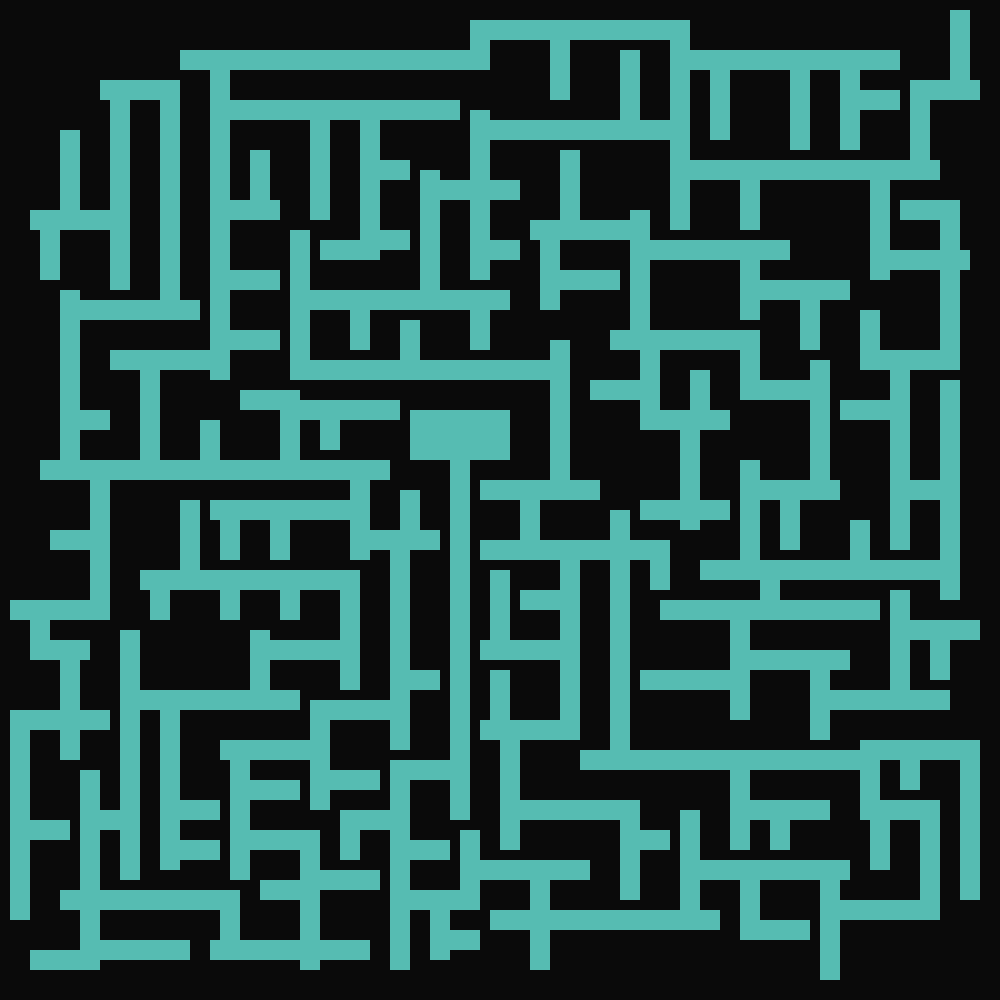
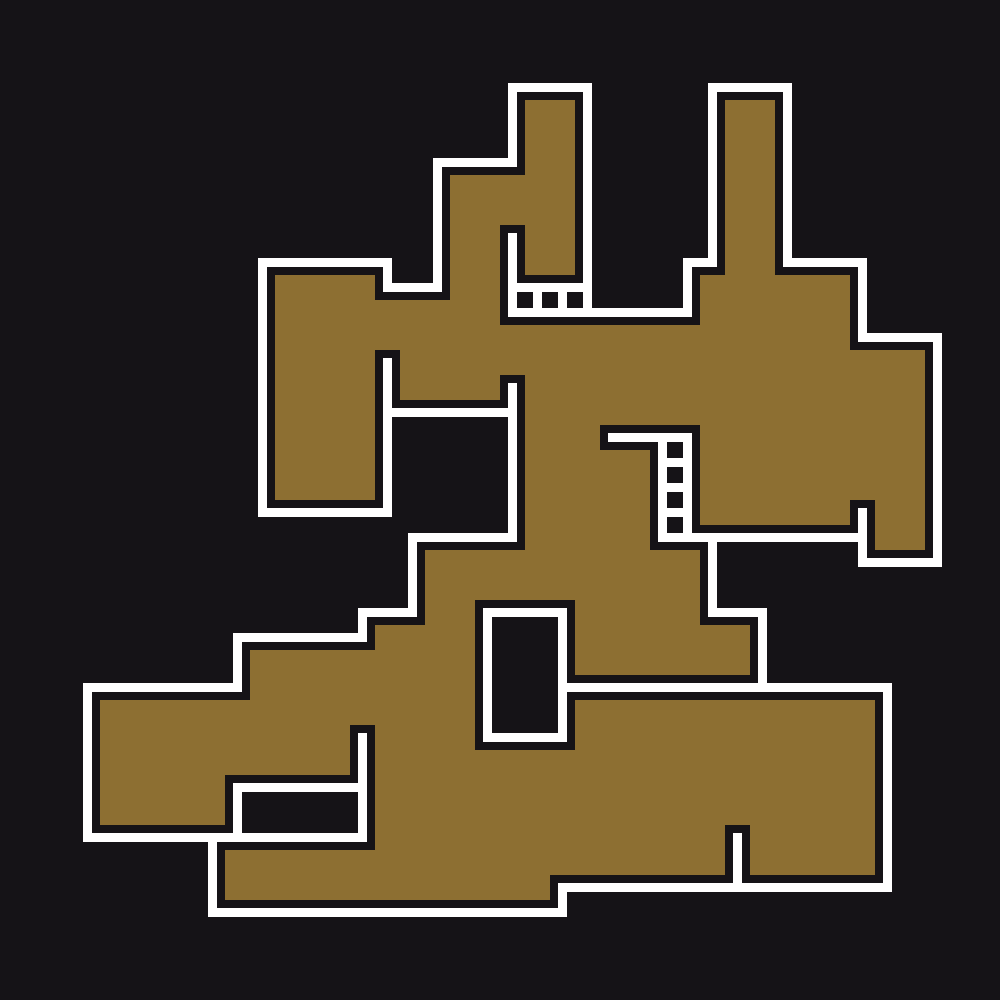
Here are two final results when the algorithm worked properly without any overlapping:
For visualization and debugging purposes, I made animations showing each step of the algorithm.
All GIFs were generated using FFMPEG, using the same process which is detailed in this post.
Here are a few of them:

The size seems appropriate, but we’d have to put a player in there to see if it is large enough.
A limit to this kind of algorithm is that it can’t generate “loops”, as rectangles can’t connect to already placed rectangles.
Edit 30/10: I found a way to make loops. Click here to jump to the section.
Tweaking parameters
Making extruded lengths longer:

… And even longer:

Having the same opening size each time (2 pixels) and not extruding on the sides:
Making the size more random, resulting in lots of variations in room shape:

Two more that were very random too:
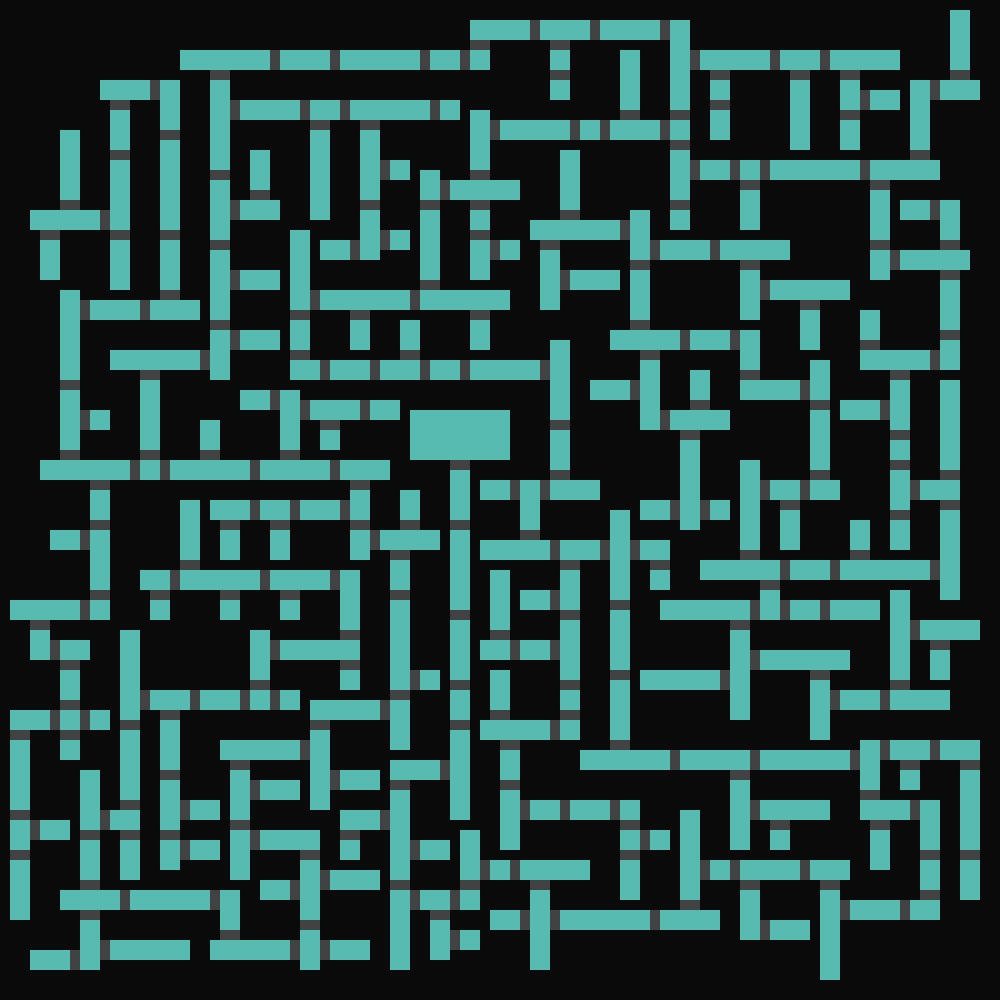
Wall tiles replacement
For some visual upgrade, I replaced the huge white blocky walls with tiles.
I decided to use a dictionnary of images, with keys being the connections they have (in a "lurd" order, for “left, up, right, down”). This speeds up the tile replacing process as it knows directly where to look for the tile image.
load_tiles(tiles) loads every tile rotation into the tiles dictionnary. Then, whenever we encounter a pixel that is marked as a wall, get_matching_tile(j, i, tiles) is called and returns a corresponding tile image. The connections are always checked in the same order, so the dictionnary keys always match.
def load_tiles(tiles):
    # load images
    cornerImg = Image.open("tiles/corner.png")
    crossImg = Image.open("tiles/cross.png")
    (...)

    # insert into dict
    tiles['lu'] = cornerImg;
    tiles['lud'] = threeImg;
    tiles['lrd'] = threeImg.rotate(180);
    tiles['lurd'] = crossImg;
    tiles['l'] = endImg;
    tiles['d'] = endImg.rotate(90);
    (...)

def get_matching_tile(j, i, tiles):
    c = ""

    # check we're not out of bounds
    if (i-1 >= 0) and grid[j,i-1] == 1:
        c += 'l'
    if (j-1 >= 0) and grid[j-1,i] == 1:
        c += 'u'
    if (i+1 < nb_tiles) and grid[j,i+1] == 1:
        c += 'r'
    if (j+1 < nb_tiles) and grid[j+1,i] == 1:
        c += 'd'

    return tiles[c]
Here are two results. The ladder artifact found with walls of 2 pixels wide is technically a bug… But I decided to keep it in to add style.
On smaller rooms it happens less frequently:


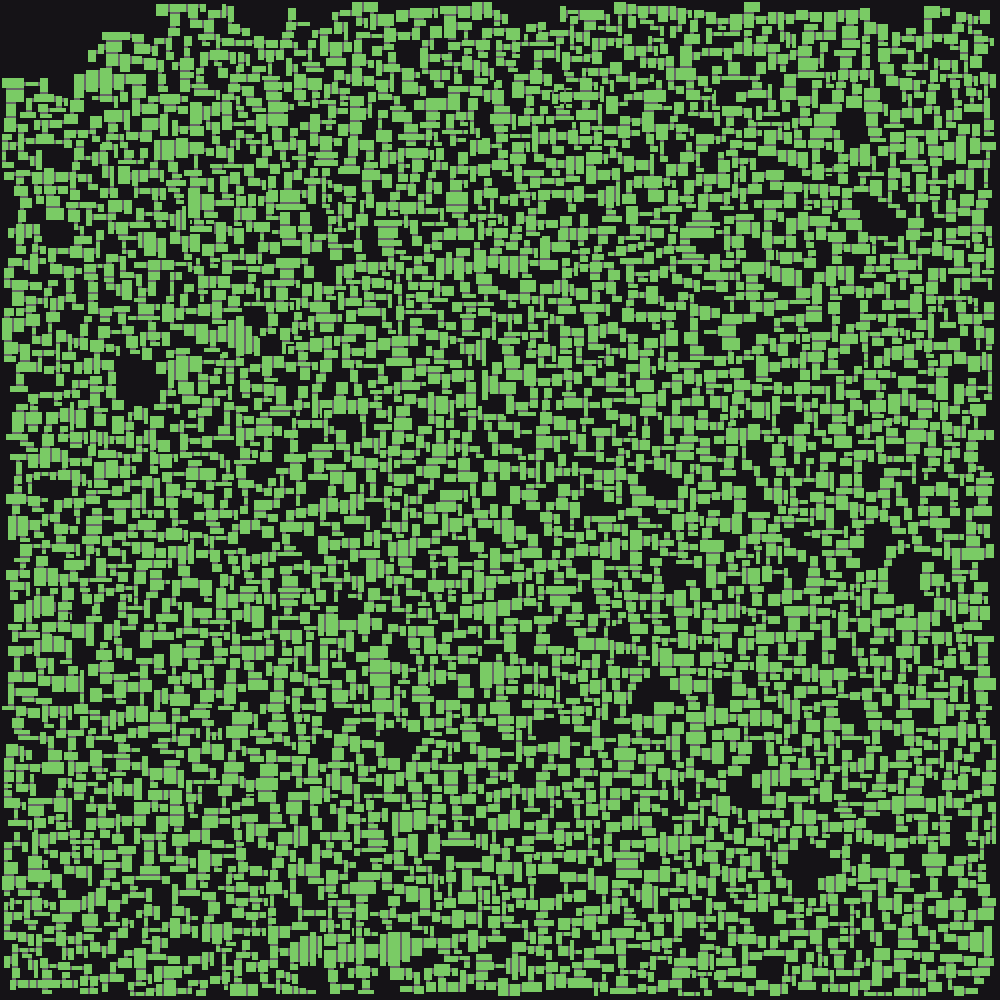
Finally, just for fun I wanted to stress test the tile amount.
250x250 tiles…
Here’s a version with 500 tiles per row/column. It could not even render tiles, because they were too small.
It seems like it cannot go over 500 tiles. Even if it could, the tiles would have a float sized width and height, which is not useful for drawing pixels at integer positions on an image.
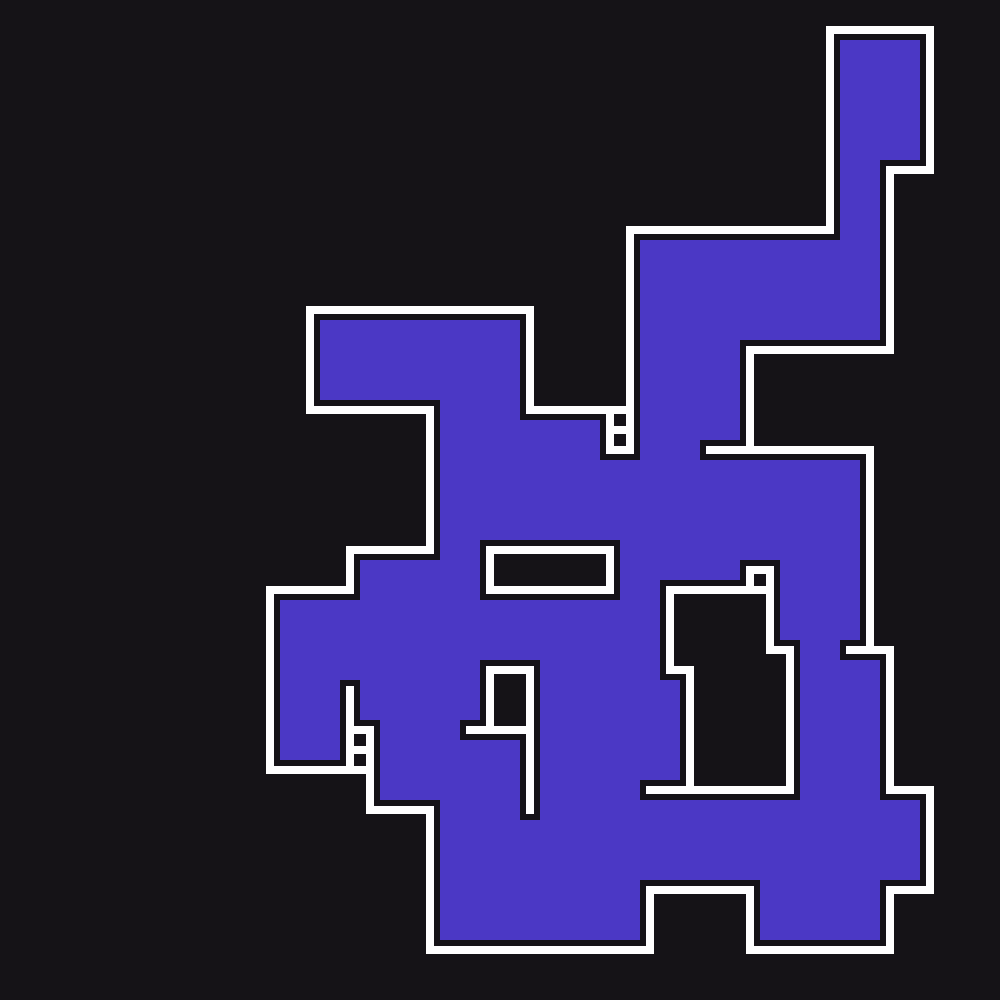
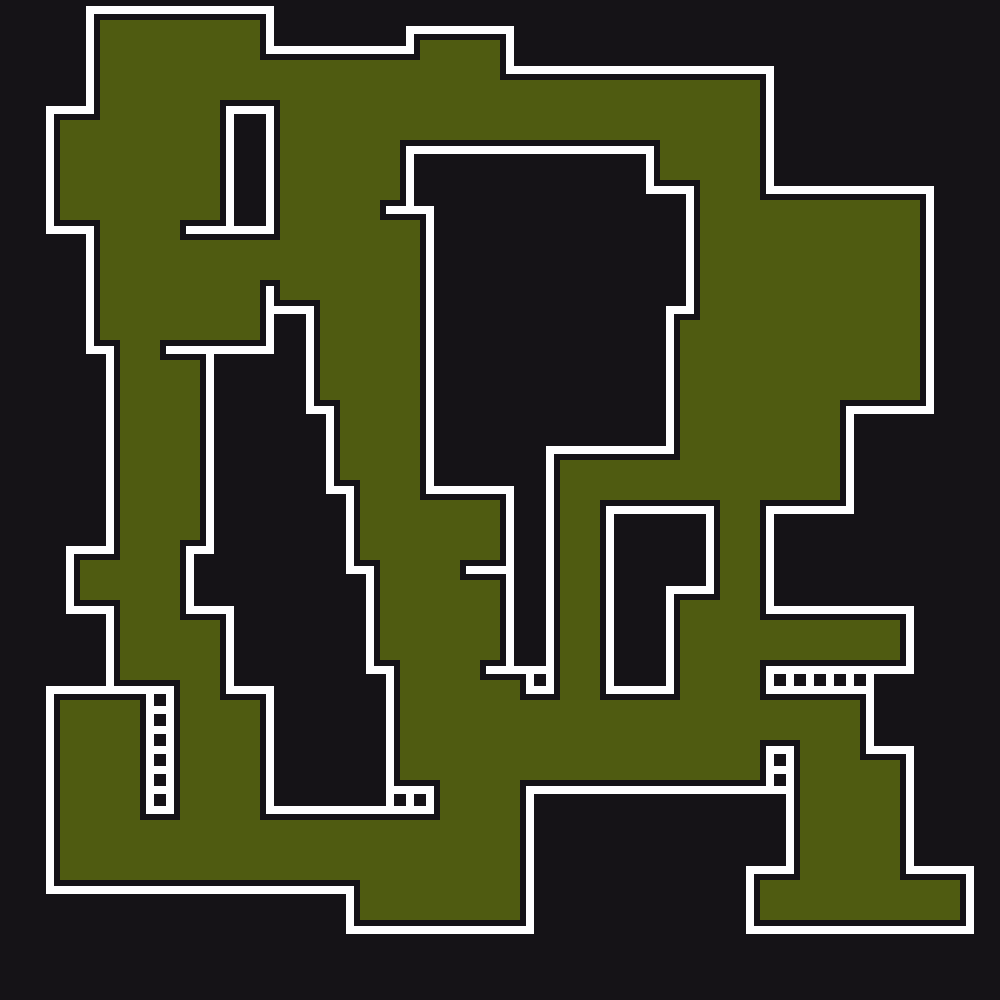
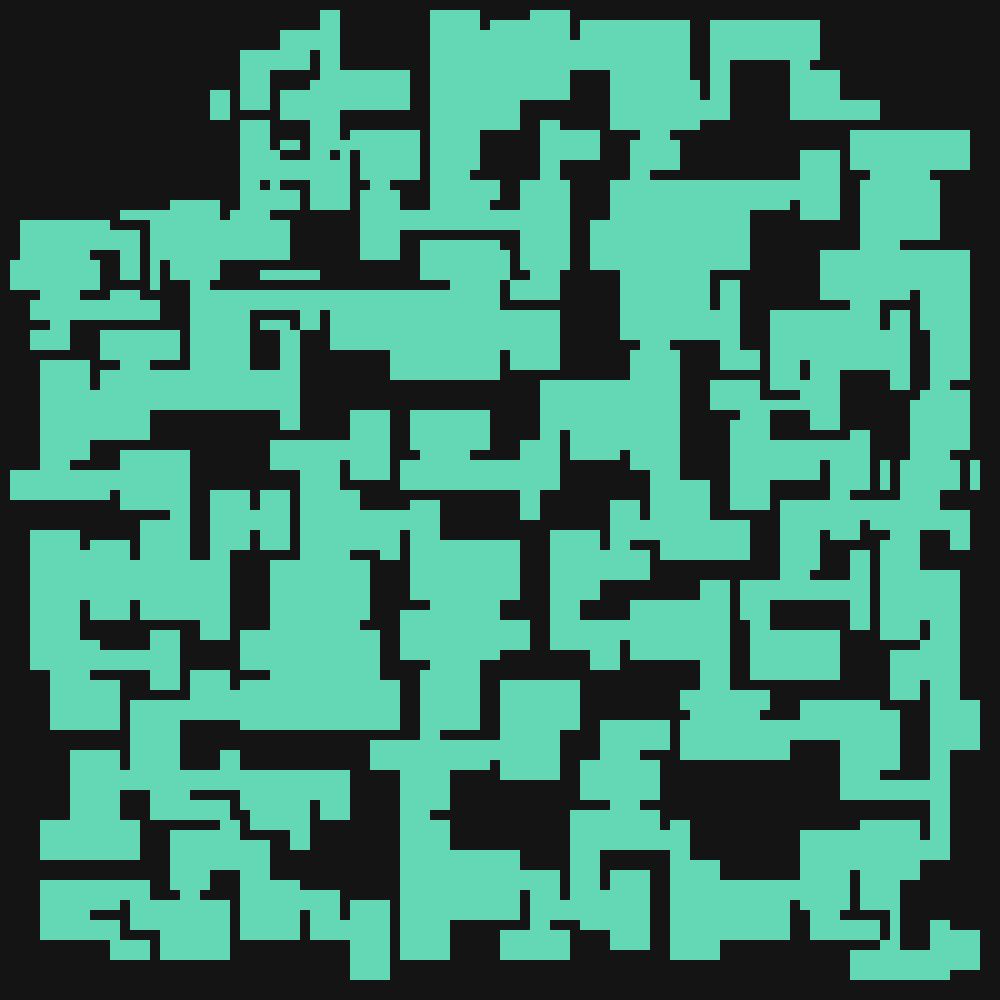
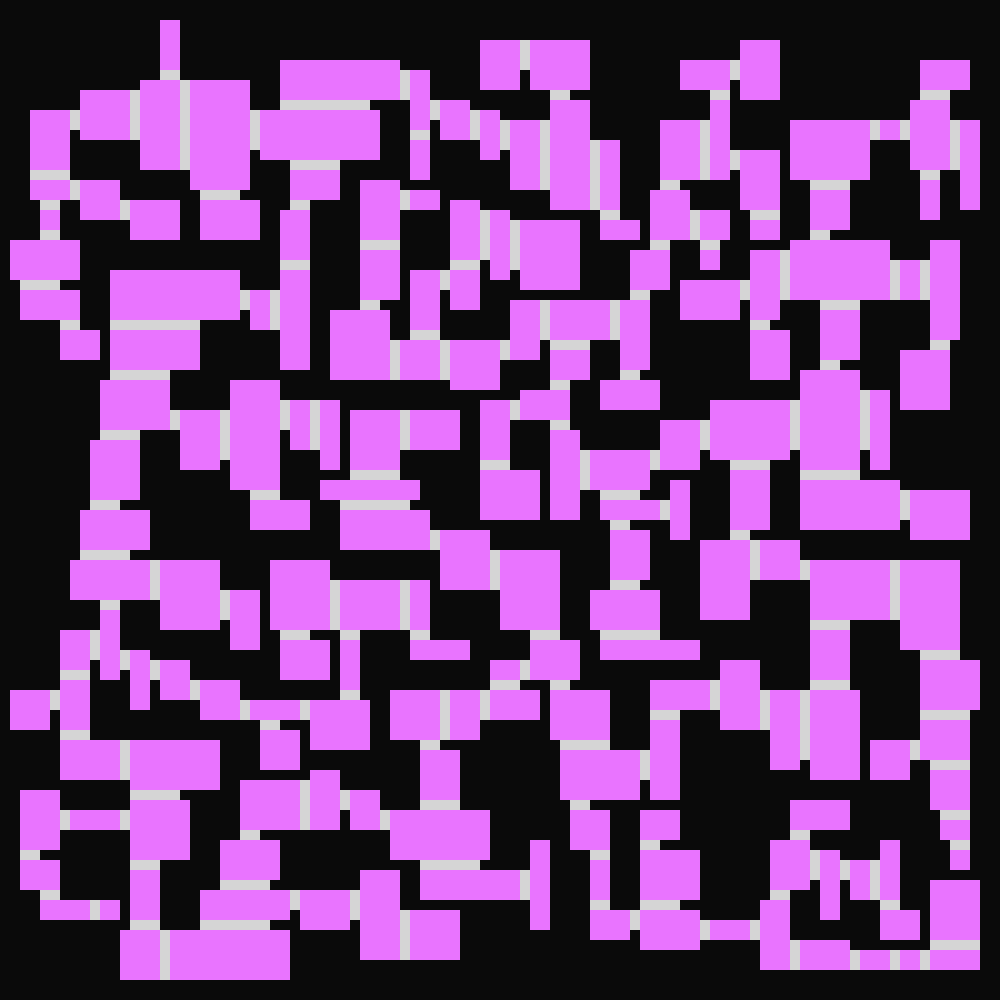
Coloring areas
Update 29/10/24
Now, areas could be added. Areas would be a different color and use different parameters (room size, opening size and shift…) to define different biomes and such.
For now, I only changed the ground colors after generating the entire maze. Which means that with this method, room parameters cannot be altered.
First, the algorithm places nb_areas start points on ground tiles. Then, using a flooding algorithm, it fills the surrounding tiles with the new color.
Of course, this method clearly has its drawbacks, especially because it doesn’t generate good looking borders and doesn’t stop at new room openings.
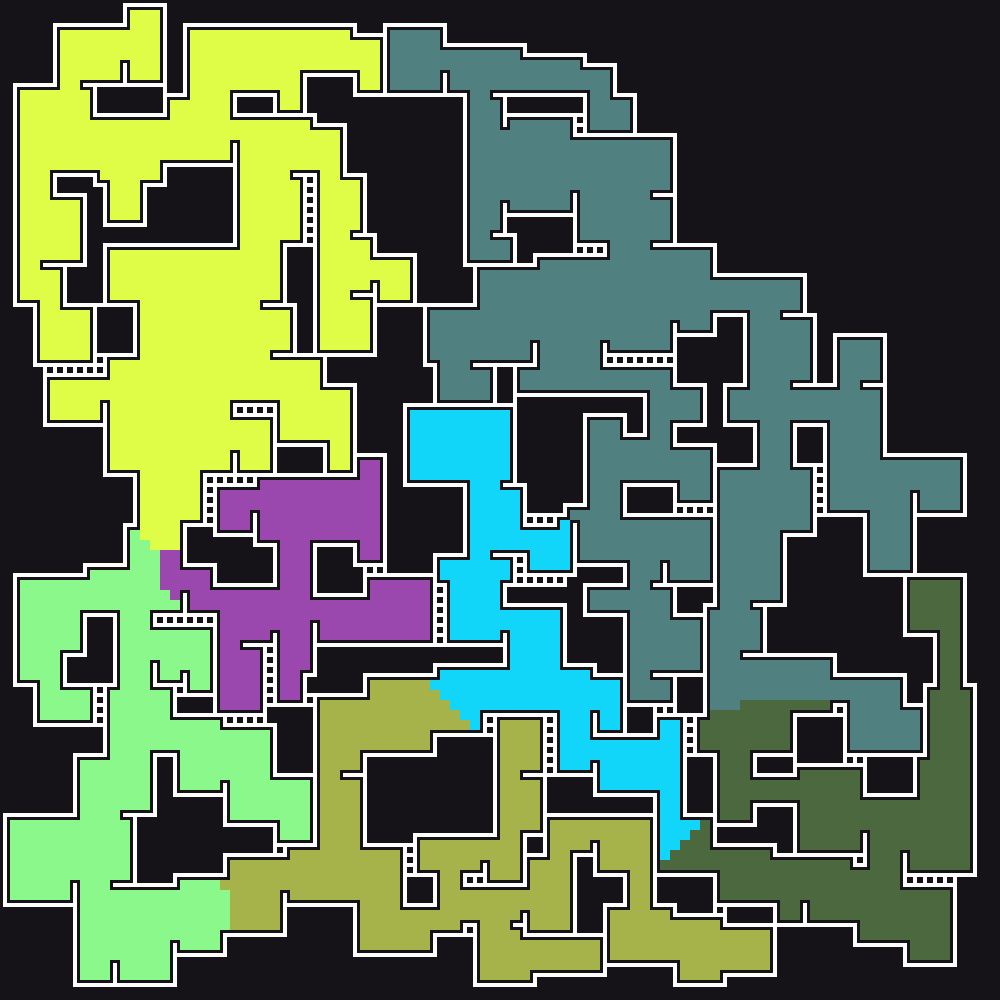
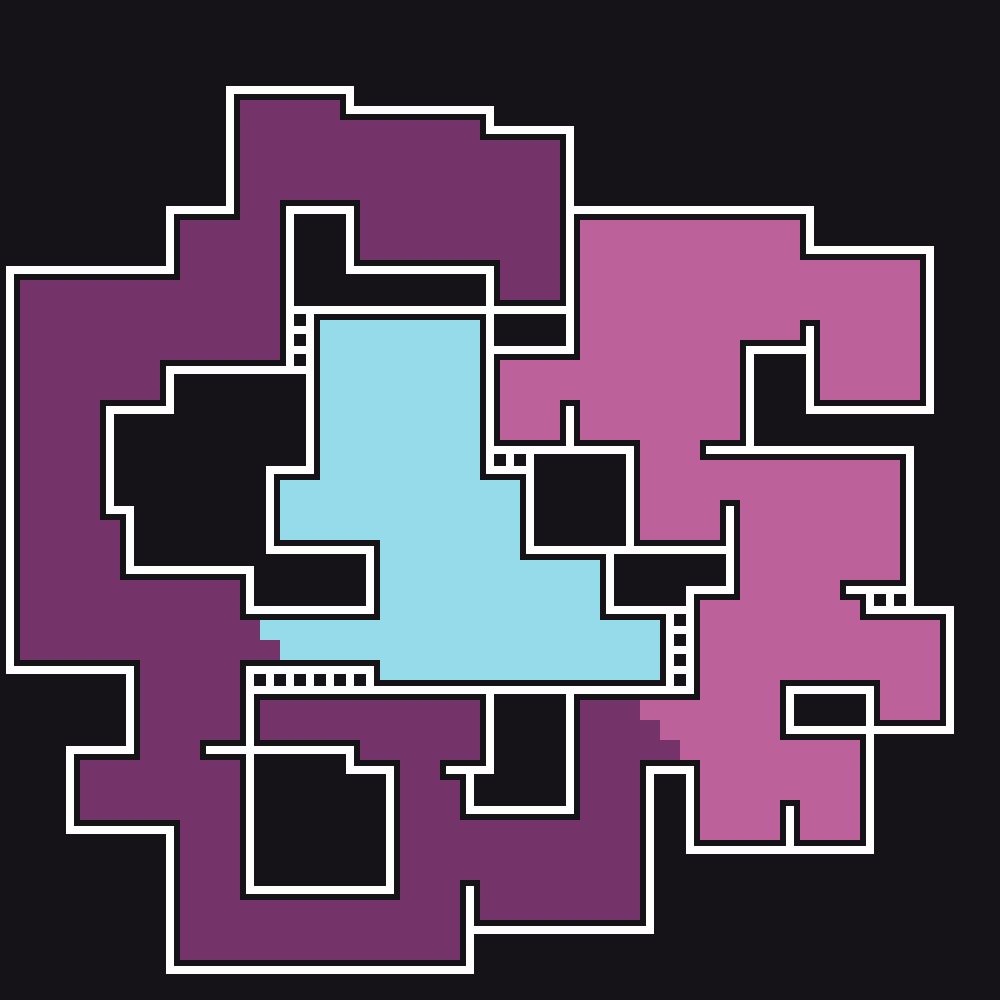
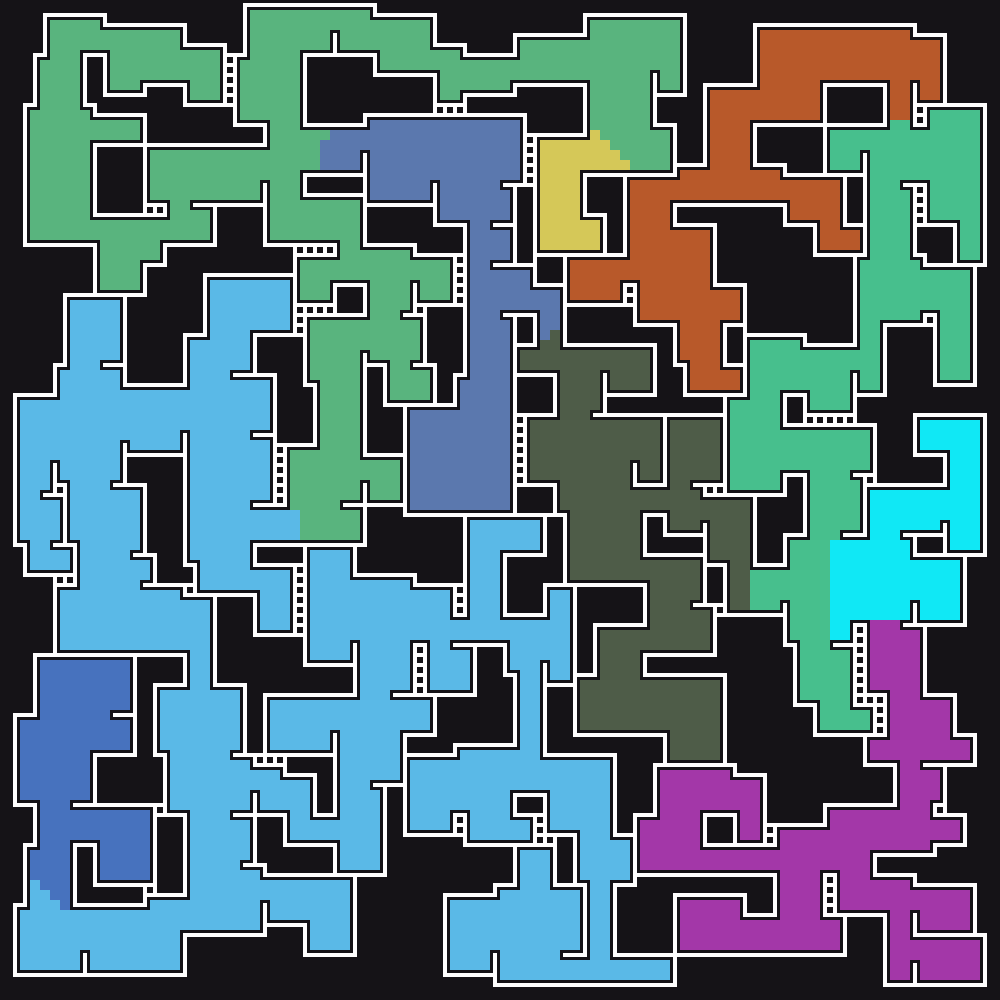
Here are two more tests with nb_areas = 10 and nb_tiles = 100:

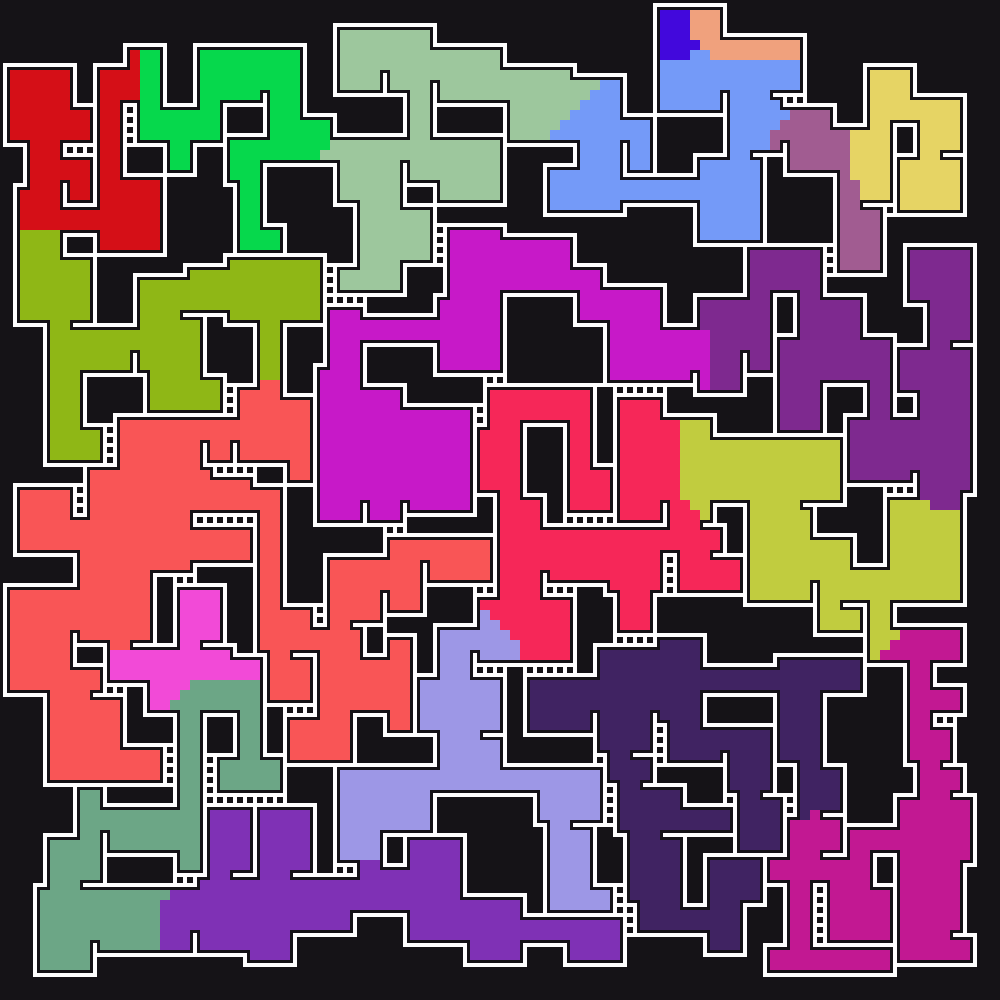
… And with nb_areas = 20:

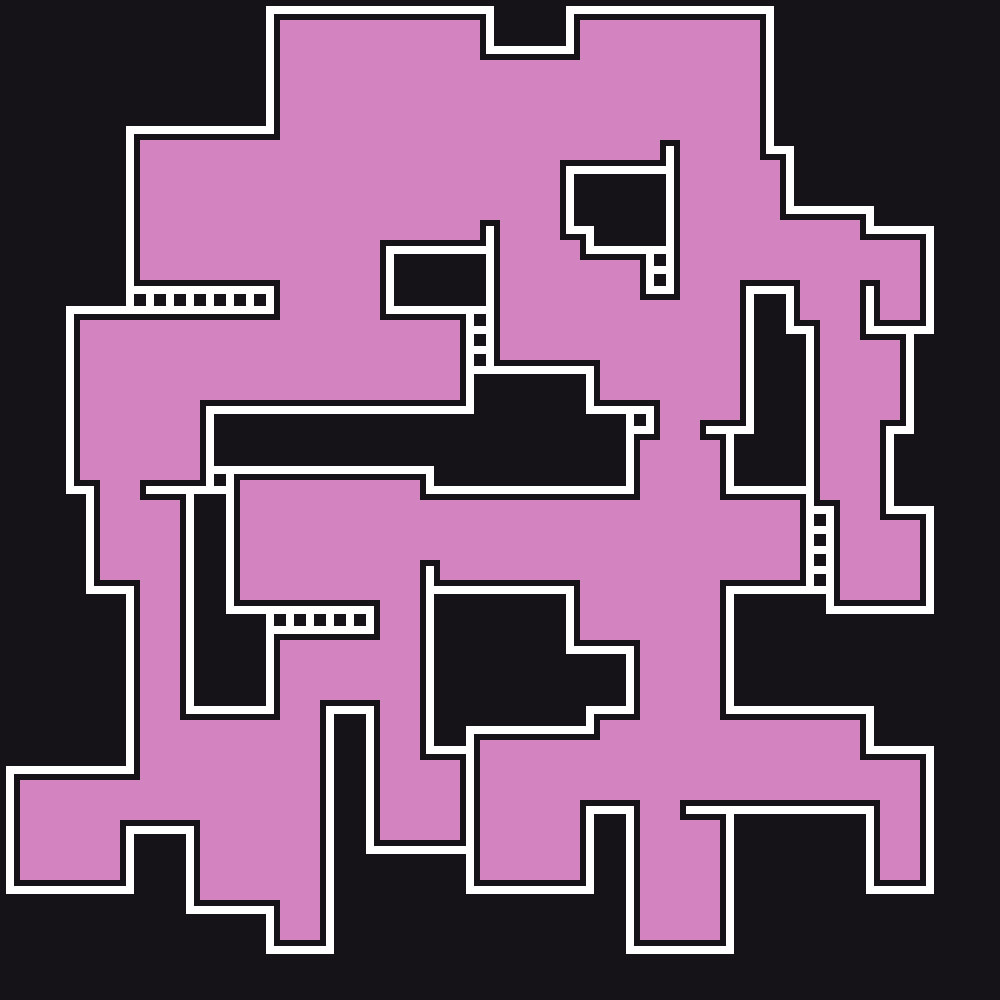
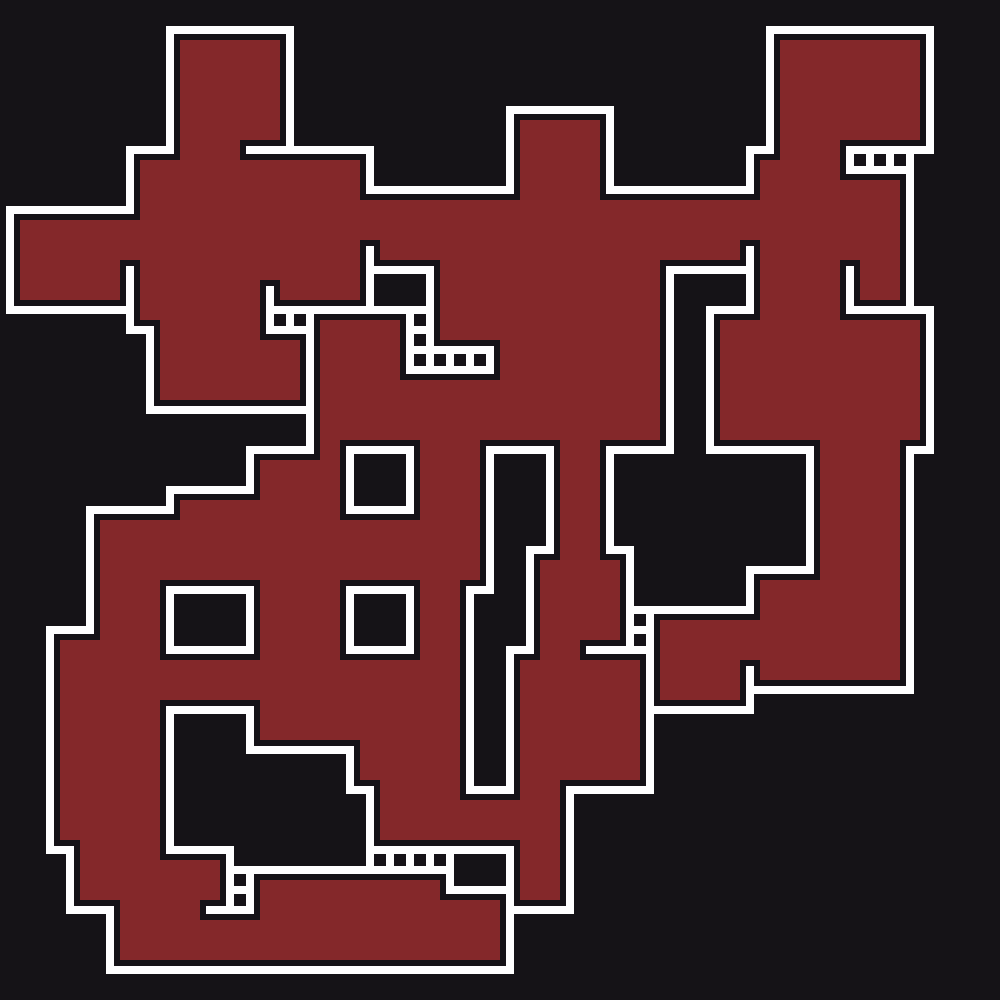
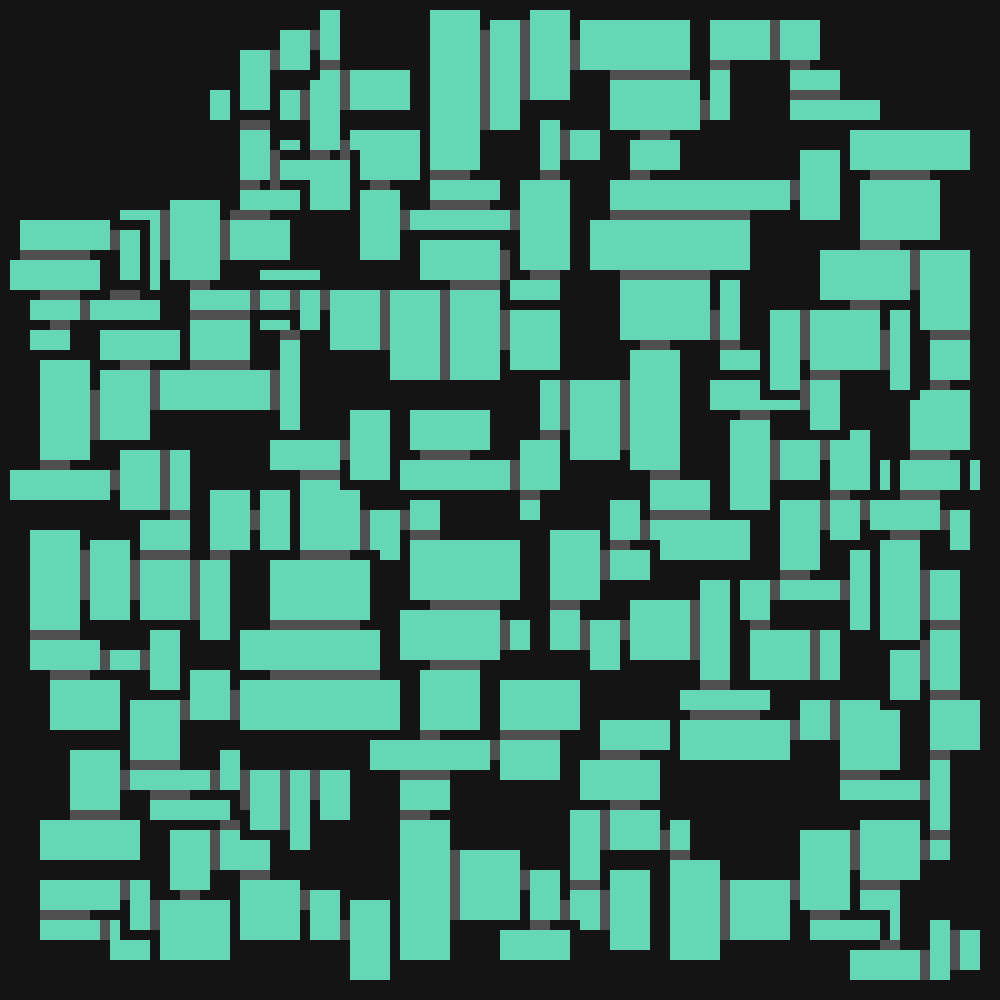
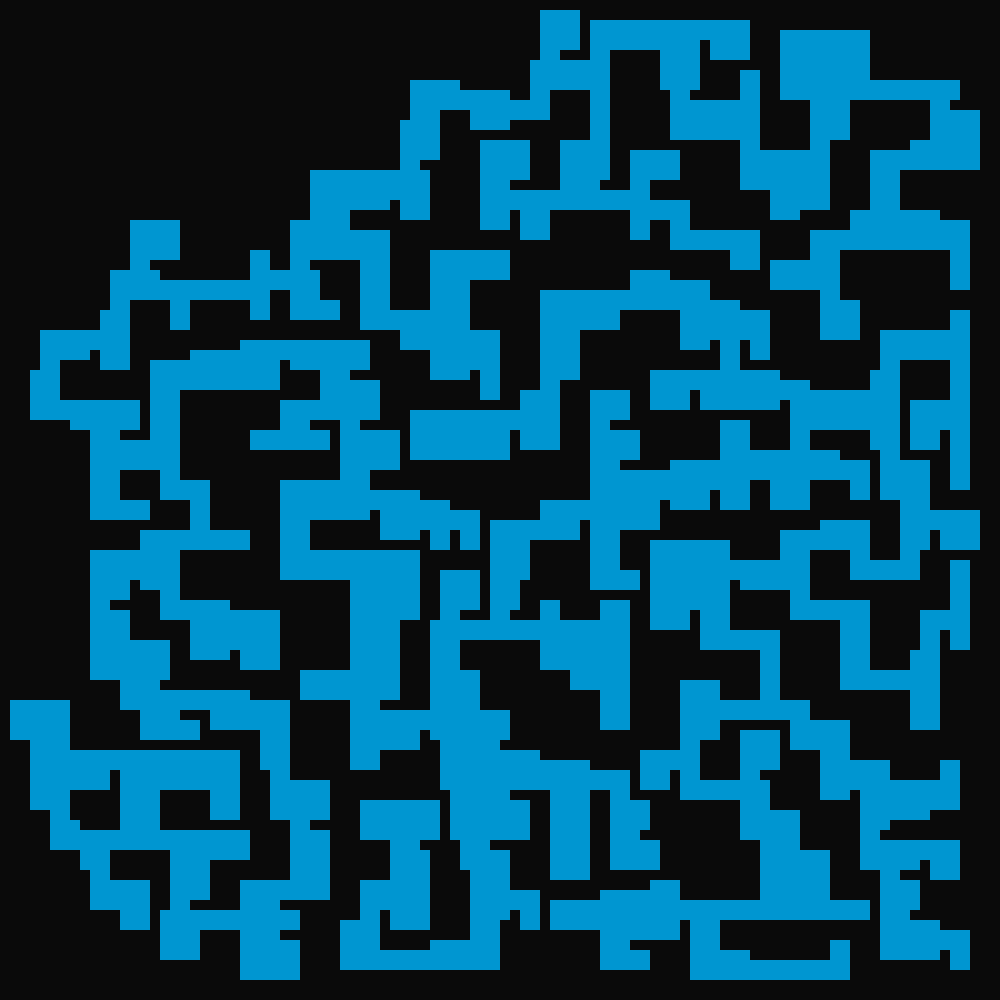
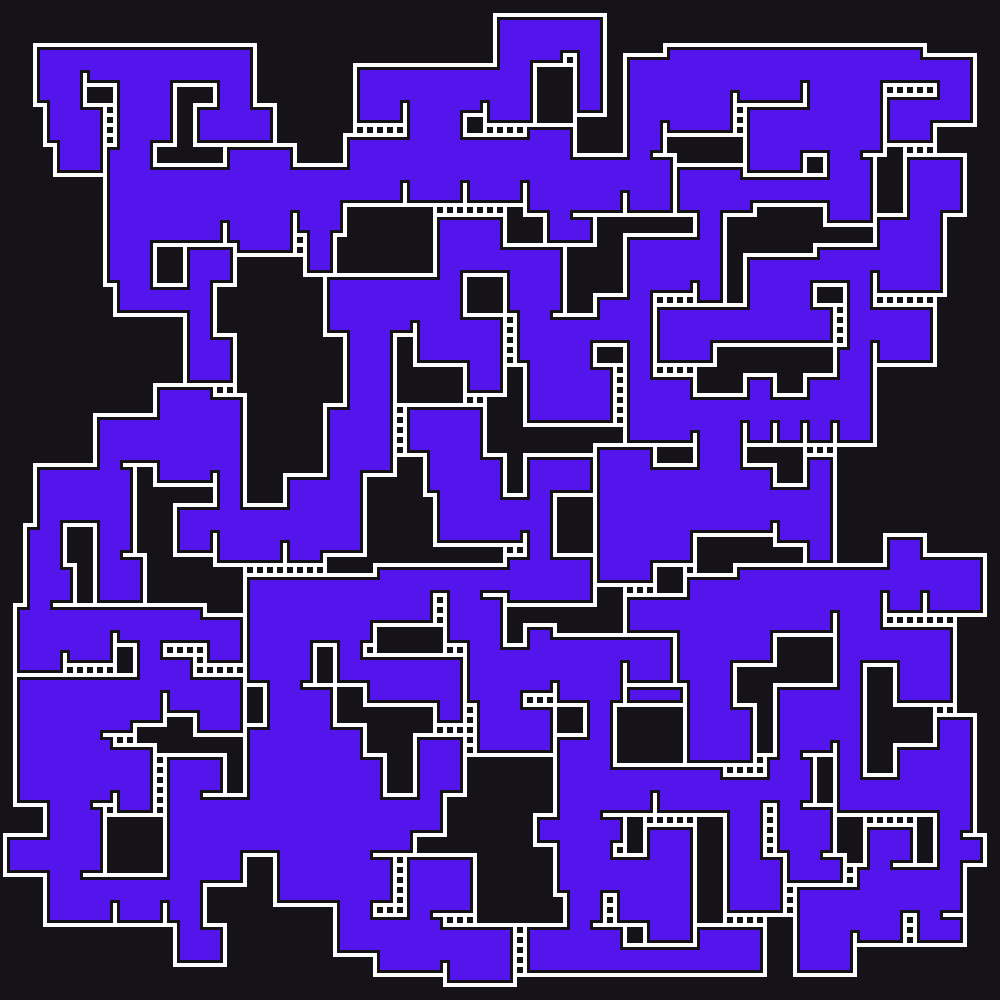
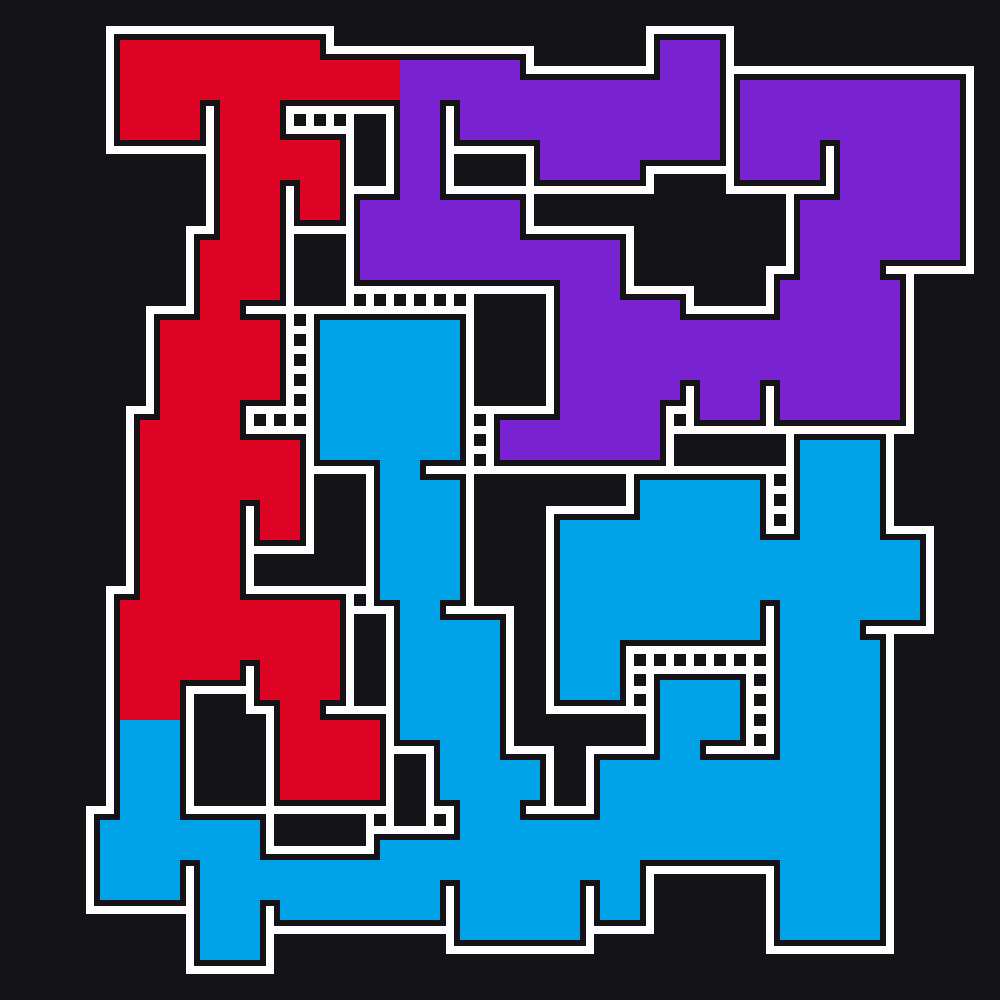
Adding loops
One final thing I wanted to add was loops. I did this by looking for one pixel wide walls and breaking them up.
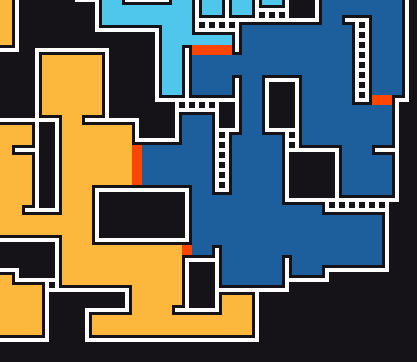
Now the generated areas are far more interesting to explore: