| blug | | | projx | | | links | | | about |
Tile-based dungeon generation
- Simplified code and algorithm
- Maze of tiles
- Algorithm visualization with FFMPEG
- Implementation in Unity
This is a project I made about a year ago. It is programmed in Python with the PIL module to generate the images. Some of the code is pretty bad, but the results look cool so I wanted to document it a bit.
It is kind of similar to the Wave Function Collapse algorithm in the way certain tiles can only be placed next to other certain tiles. I didn’t know about WFC before programming this, so I came up with the algorithm that is used here (while it may probably already exist).
Simplified code and algorithm
spawntile(tile, position) is a recursive function that spawns other tiles.
For each connexion of the spawned tile, it tries to check if a tile fits after the connexion. For this, it chooses a random tile from the tiles list and checks if it works, until it finds one. If it doesn’t find any fitting tile after randomTries tries, it gives up.
This method of iterating over the spawned tile’s connexions implies that when we spawn a tile with two connexions available, it will create new tiles starting from one of the two connexions first, then proceed with the second connexion.
dungeon = matrix of empty lists

def checkTileFit(tile, basePosition, connexion):
    if (there isnt already a tile where we want to spawn the tile):
        tilesCopy = tiles.copy()
        for _ in range(randomTries): # try to get a matching tile
            candidateTile = random tile from tilesList
            remove candidateTile from tilesList
            if (connexions match between the base tile and the candidate tile):
                spawnTile(candidateTile, getRelativeTilePosition(tile, connexion))

def spawnTile(tile, position):
    dungeon[position.x][position.y] = tile
    drawTileOnImage(position, tile.image)
    for connexion in tile.connexions:
        checkTileFit(tile, position, connexion)
This is a very simplified version of the algorithm but explaining it in the very details wouldn’t be necessary.
Maze of tiles
Heres are the basic tiles I first made: the yellow part is a wall, and the black part is “empty”. Instead of drawing every possible rotation of each tile by hand, I rotated them in the code using PIL.


Each tile is represented as a class having two members: tile.image and tile.connexions, the latter being a list that can contain the strings "left", "right", "up" and "down". For sure this could have been optimized with another structure, like a bitset, but this was only to test things out.
A list of every possible tile (including their rotations, which count as separate tiles) is kept as a tiles list. Some tiles can be added multiple times to tiles to give them more probability to be chosen randomly.
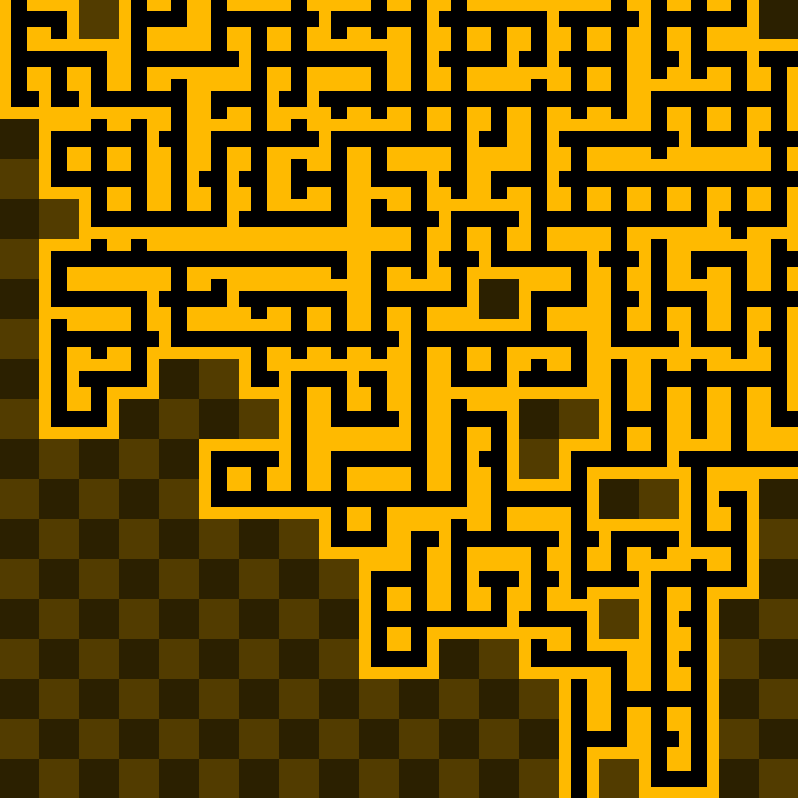
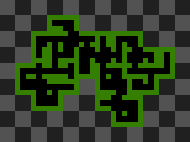
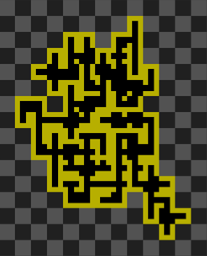
First working iterations gave these images:

I later added these tiles to the tileset: 

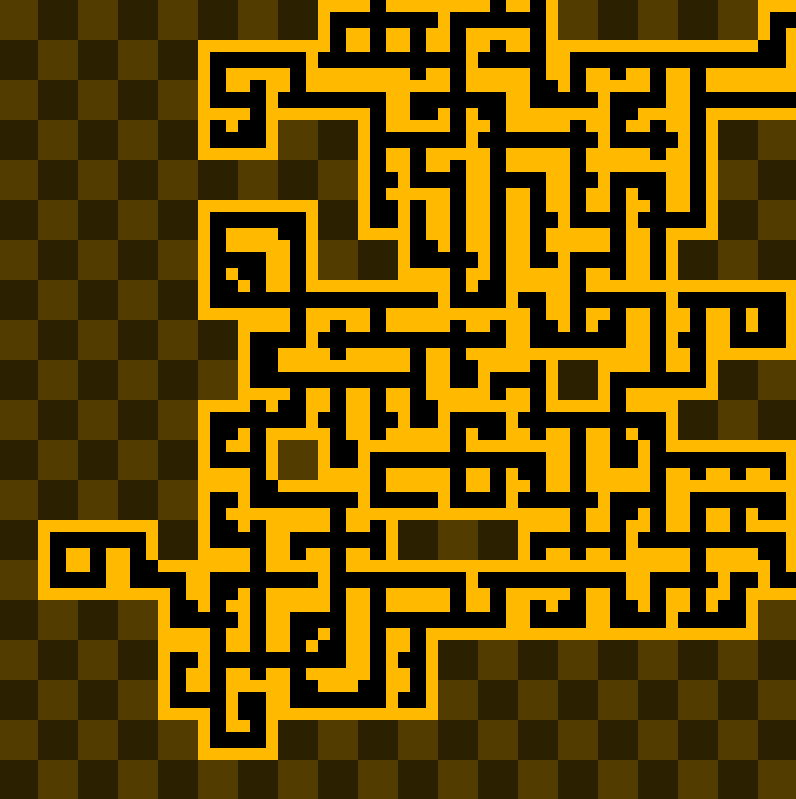
I finally added the last tiles to the tileset: ![]()

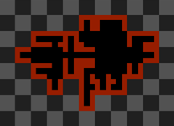
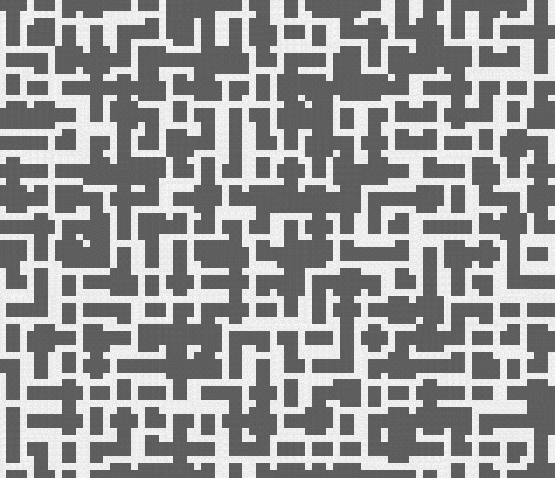
The “empty” one has four connexions, and therefore helps to generate sort of large “room” spaces. I also quickly wrote a function to generate multiple images in a row, so from now on a random color tint is applied to the tiles for variation.
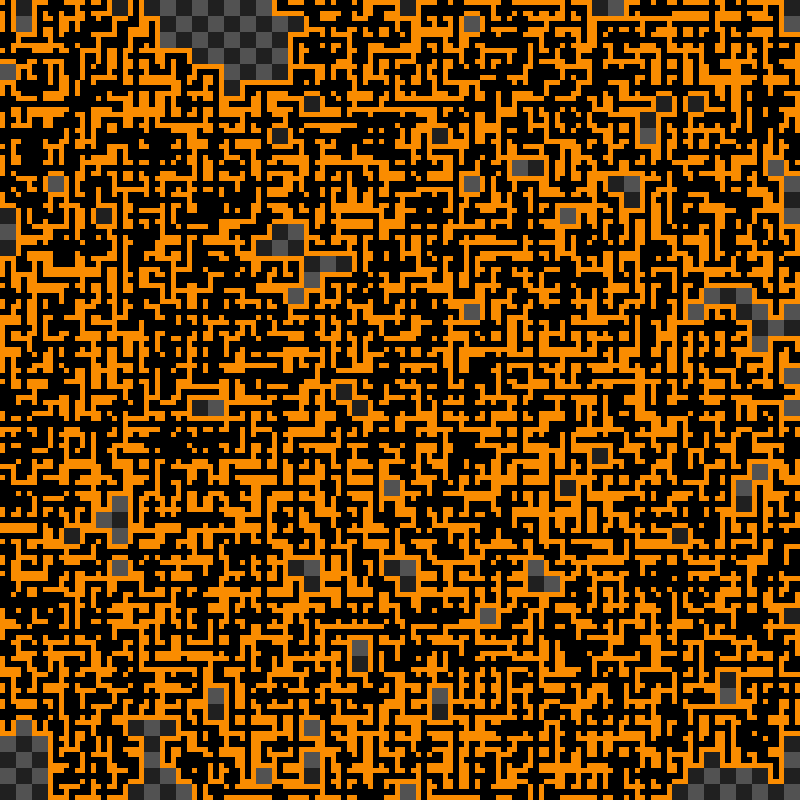
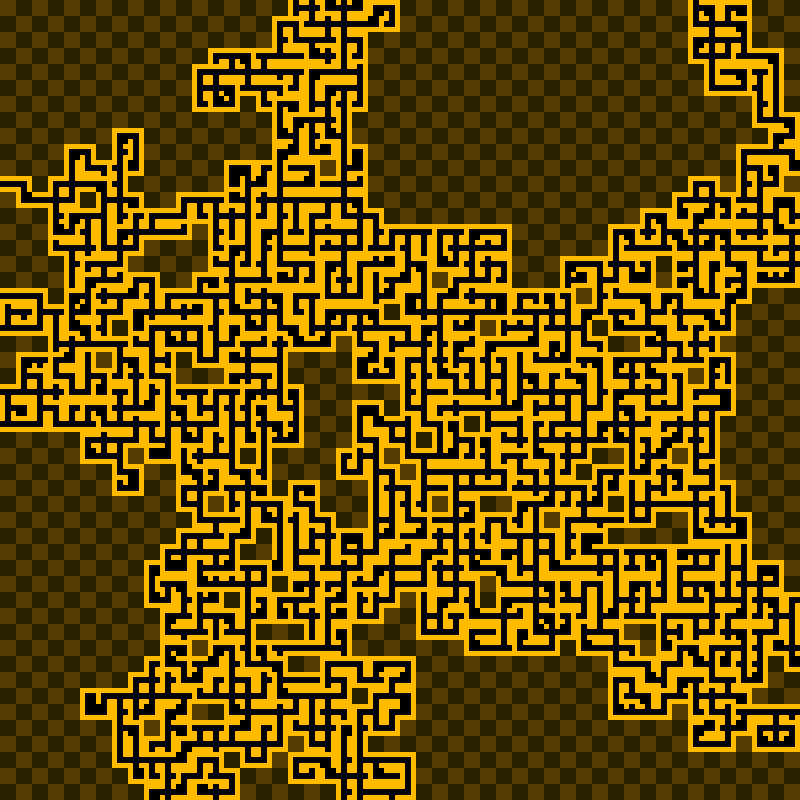
I played a bit with the fact that you can add the same tile multiple times to the tiles list.
Adding more “empty” tiles makes it so you can increase the size of the “rooms”. But this is very uncontrollable, and I still didn’t find a way to properly detect certain tiles as being part of a room.
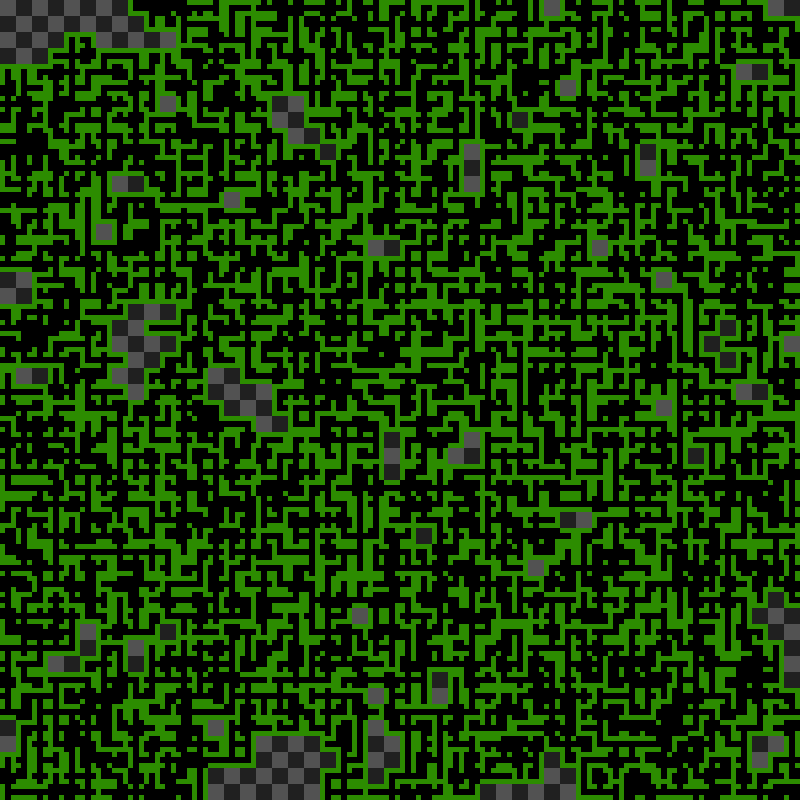
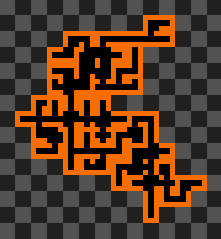
Adding more “dead end” tiles make the mazes end sooner.
Some of them turned out very small! These were due to random.
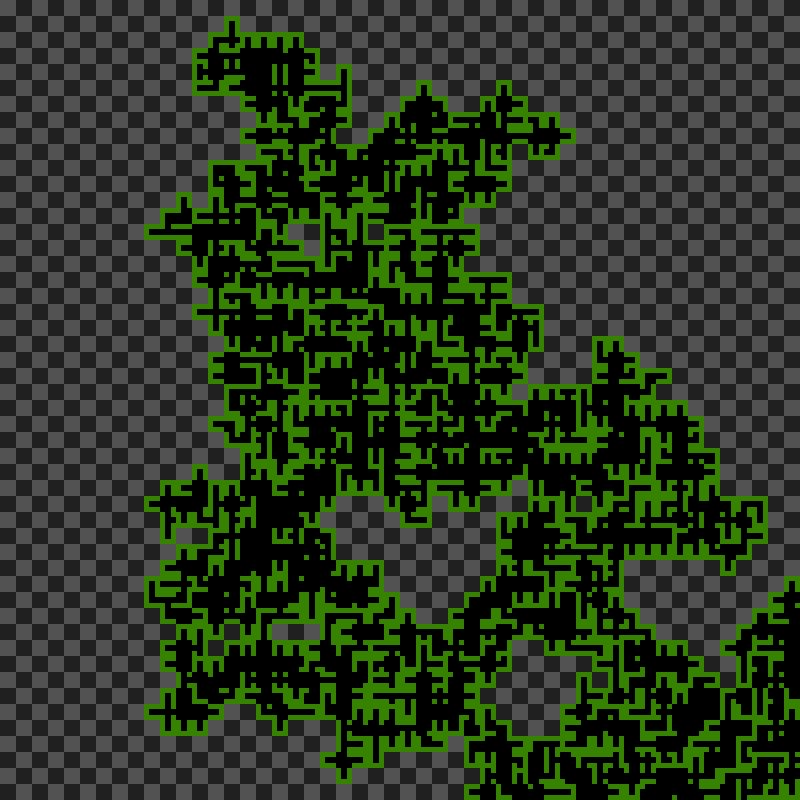
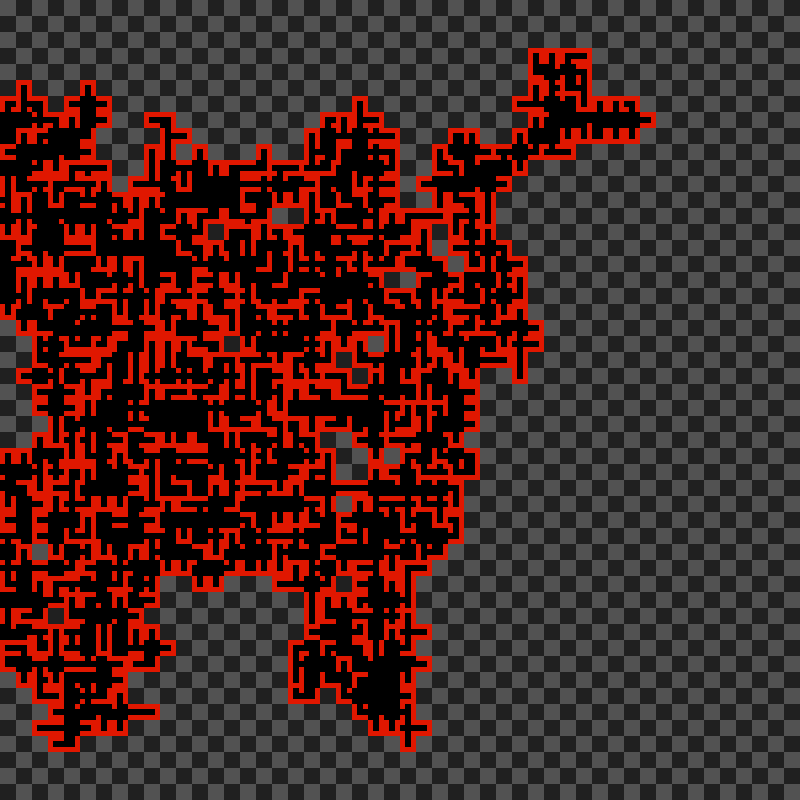
So I tried adding more “dead end” tiles… Which resulted in somewhat smaller mazes. The size could have been more controllable, for example by checking if a maze is growing out of a bounding box and replacing every tile by a closing tile. This wasn’t implemented yet though.
And even smaller ones:


Algorithm visualization with FFMPEG
I decided to generate videos to show the steps of the algorithm. I changed the Python script to save the image in a separate "steps" folder every time a new tile is drawn. It also accepts arguments to change the grid size, and the ratio of “dead end” and “empty” tiles.
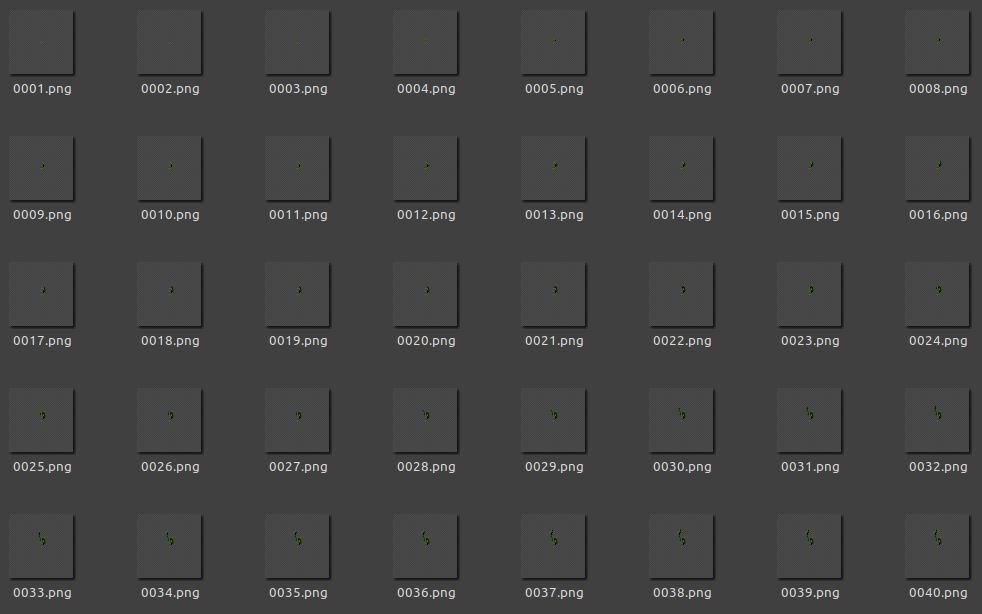
Then, I wrote a short Bash script to generate a video compiling all the images. The examples shown below have been converted to GIFs.
#!/usr/bin/env bash
# gensteps.sh name gridfactor endRatio emptyRatio fps

python3 'dungen steps.py' $2 $3 $4

BACK_PID=$!
wait $BACK_PID      # waits until the most recent process has ended

ffmpeg -framerate $5 -i "steps/%04d.png" outputs/output$1.mp4

BACK_PID=$!
wait $BACK_PID

xdg-open outputs/output$1.mp4
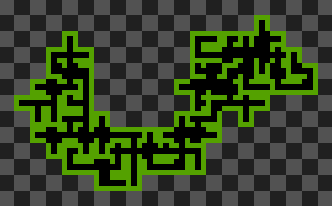
On a larger scale, it’s interesting to see all the directions the path takes before finally coming back to the original tile to start from another connexion.
Implementation in Unity
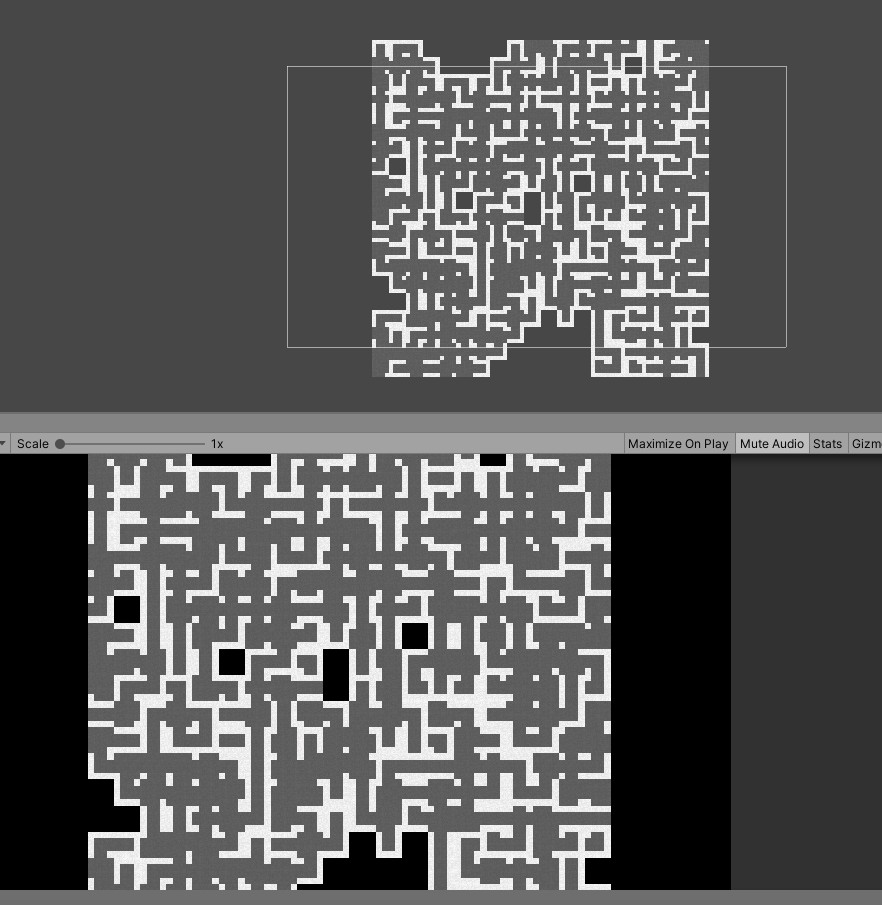
I later tried to implement this algorithm in the Unity game engine. The tiles are a bit different.
Looking a bit closer, you can see this one generated small rooms, and not the typical maze we had in the Python version. This could have been interesting as a starting point to then “dig” holes in the walls to interconnect them, but I have absolutely no idea of how to go back to this version…
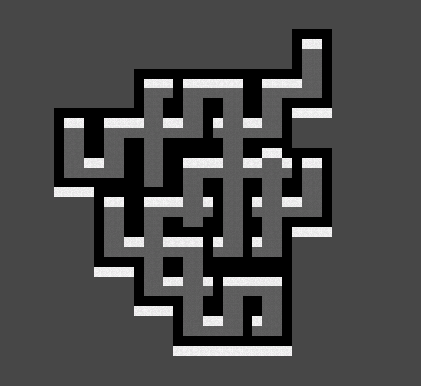
Here’s a generated maze, obtained after fixing the algorithm.
The last thing I wanted to add was perspective. Or kind of.

Looking back I think this way of generating mazes would be more fitting for a metroidvania platforming type of game. Because for a top-down roguelike game, the space between the walls is either too small or too large, depending on the player size.
Bonus: limiting the tileset
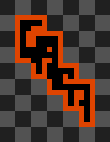
By only using certain tiles, we get weird results… This one was made only using “column” tiles.