| blug | | | projx | | | links | | | about |
Sonic’s rail grinding mechanic in Unity
I wanted to try and recreate the rail grinding game mechanic from the Sonic series in Unity.
In the main games, every rail seems to be an individual asset created in another program.
Here, I’d like to make a procedural system that fits in Unity, is simple and fast to use. This way, rails could be prototyped and tested easily.
For some of the functions logic, I took inspiration from this Catlike Coding tutorial on splines.
Bézier curves
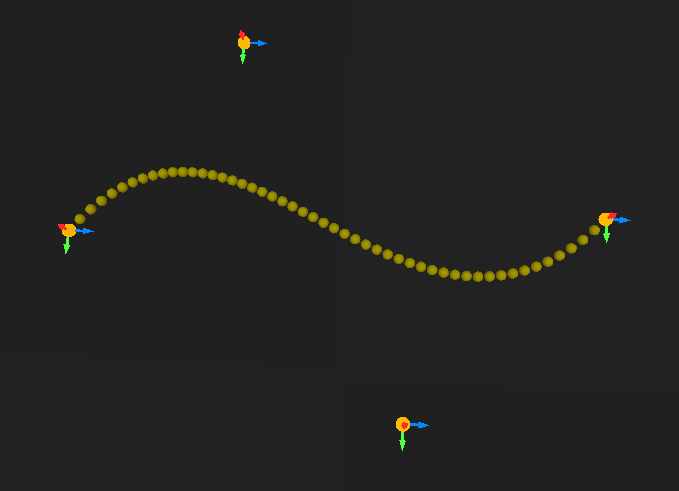
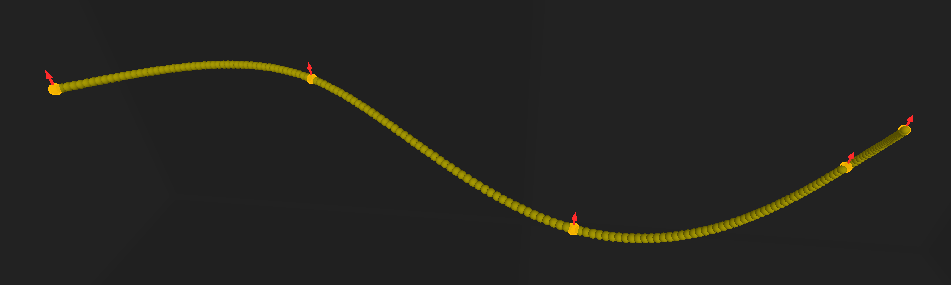
I decided to use cubic Bézier curves. These curves have 4 control points \(P_i\). The curve starts at \(P_0\) and ends at \(P_3\). The problem is, as you can see the curve doesn’t go through each of the 4 points (interpolation property).
Instead, we can use Bézier interpolation.
We have a set of \(n\) points. The idea is to create \(n-1\) cubic Bézier curves in total, one between each point.
To fit each curve, we want to find the position of the two control points \(P_1\) and \(P_2\) in between the two points \(P_0\) and \(P_3\) we are trying to connect.
I’m not going to go into the math details, because this Medium article by Omar Aflak already explains it very well.
But in the end, we have a matrix of the form \(Ax = B\) to solve. Unity doesn’t have a built-in linear algebra library, so I installed Math.NET Numerics using the NuGet for Unity package manager.
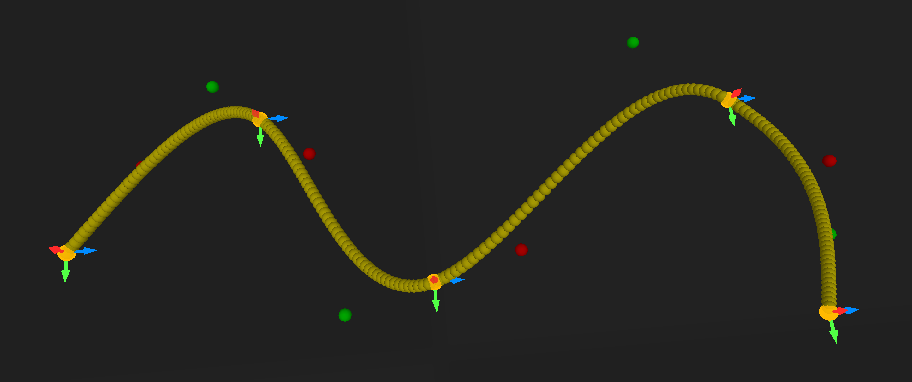
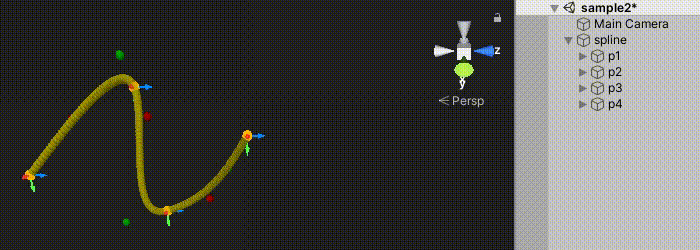
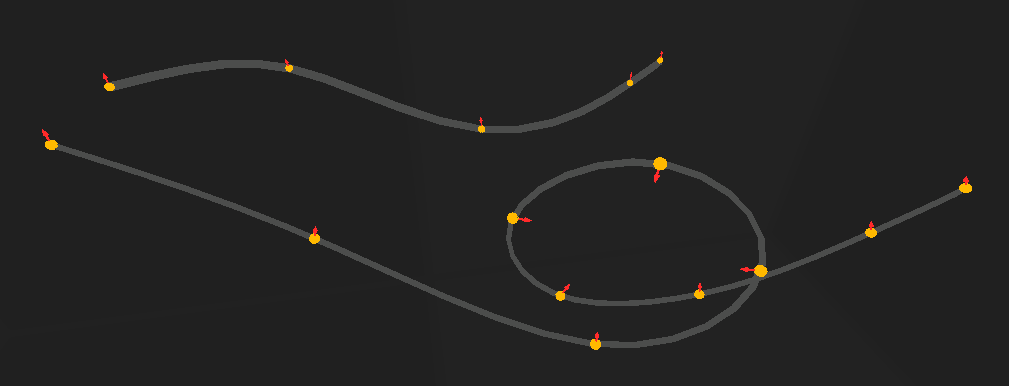
Now I can just add another point wherever I want in the hierarchy and the curve is computed just fine. This allows for easy tweaking.
Note: The only little problem is that it doesn’t have local control. This means that changing a small portion of the curve can change the entire curve.
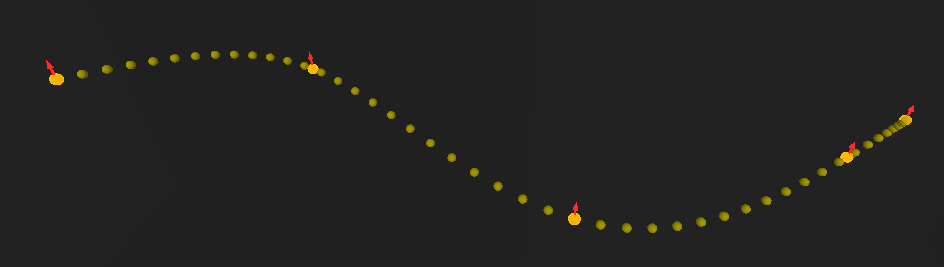
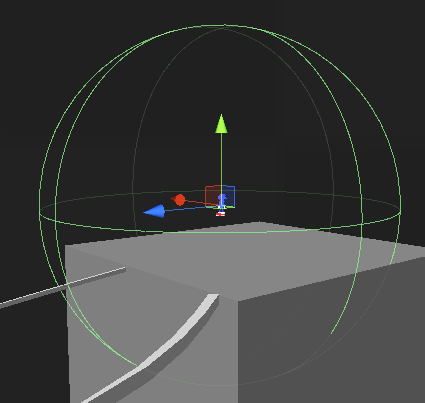
Then, I made a Vector3 GetPoint(float t) function (with t between 0 and 1) that returns a point of the curve. With a N variable that defines the number of points, we can start sampling the curve. Points are drawn in the OnDrawGizmos() function using Gizmos.DrawSphere(position, radius).
Generating the mesh
Before computing the mesh, we still need two more functions to retrieve vectors for each point:
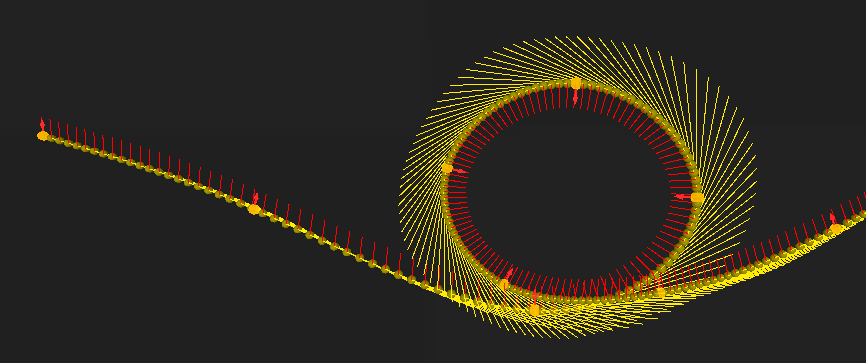
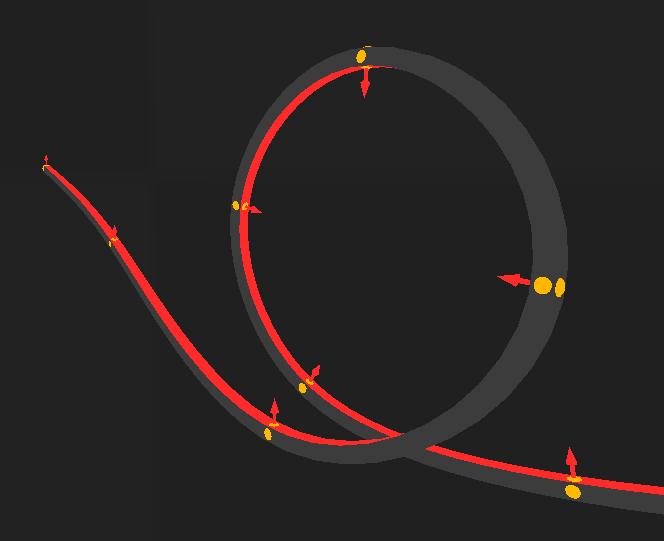
- The direction (or forward) vector. We can get it using the first derivative \(f’(t)\) of the Bézier curve equation.
- The up vector. This will indicate on which side to position the player, and also the upper side of the rail.
I’m sure there could be a way to calculate the up vector it using the direction vector (something perpendicular, for say). But to allow for more control, up vectors will be set manually by rotating the arrows.
With that done, let’s get into the mesh generation. I added a Mesh Filter and a Mesh Renderer component to the rail object.
For each point of the curve, we obtain its \(\vec{forward}\), \(\vec{up}\) and \(\vec{right}\) vectors (remember we can get the \(\vec{right}\) vector as \(\vec{forward} \wedge \vec{up}\)). Using these vectors and the sampled point position, we add 4 new vertices to the mesh. Then, using the 4 vertices of the point that was sampled one step before, we construct 8 triangles.
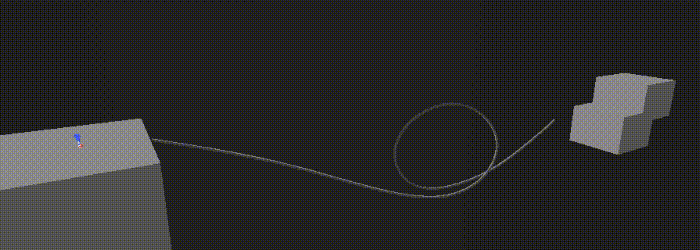
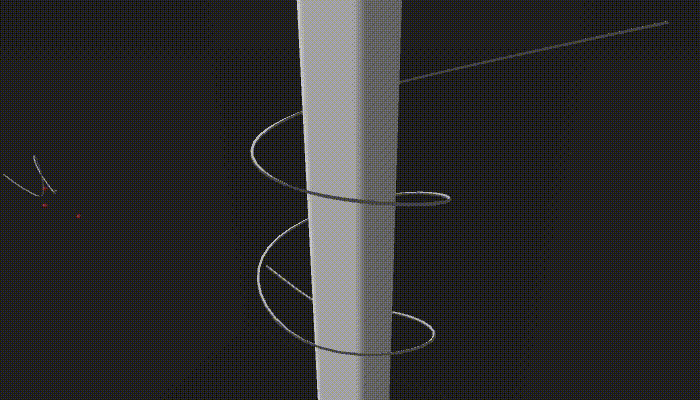
And here are some rail meshes! I also added a radius variable to control their width.
Using submeshes and a different material, I made the upper face a different color to help visualize the up vector more clearly:
Here’s a very stripped down version of the function used to create the mesh:
void GenerateMesh() {

    List<Vector3> verts = new List<Vector3>();

    List<int> triangles = new List<int>();
    List<int> upTriangles = new List<int>();      // vertices of the upper face

    Mesh mesh = new Mesh { name = "railMesh" };

    for (int i = 0; i < N; i++) {

        /* add vertices and triangles... */
    }

    mesh.subMeshCount = 2;

    mesh.vertices = verts.ToArray();

    // this allows for assigning different materials
    mesh.SetTriangles(triangles.ToArray(), 0);
    mesh.SetTriangles(upTriangles.ToArray(), 1);

    GetComponent<MeshFilter>().mesh = mesh;
}
Gameplay
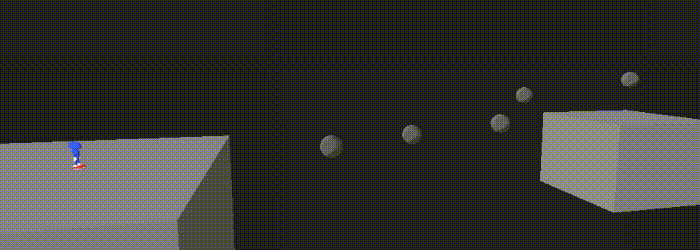
I modeled possibly the worst ripoff model ever made, gave it some animations and a simple movement script.
To make griding rails easier, I want to implement the homing attack mechanic first.
Basically, when a target is close, the player can jump towards it to destroy it.
I implemented it using a trigger collider. When a valid target enters the collider, it is added to a potentialTargets list. When it leaves, it is removed from the list. A script is constantly looking for the closest target in the list, and defines it as the actual target. When the player jumps again when a target is available (and close enough), it rushes towards it until it touches it, and destroys the target. If the target is a rail, the player gets on the rail.
This will make it easier to start from the beginning of a rail instead of having to land exactly on it.
Rail grinding
Once the player is on a rail, we just have to sample the curve at a railProgress variable (between 0 and 1) and add the up vector to get the player’s position.
Speed also needs to be relative to the curve length (since we are always between 0 and 1, but the curve length is not).
I approximated the curve length by summing the distances between each point (which means the accuracy increases as N increases). At each step, the player moves along the curve by railSpeed / rail.curveLength * Time.deltaTime.
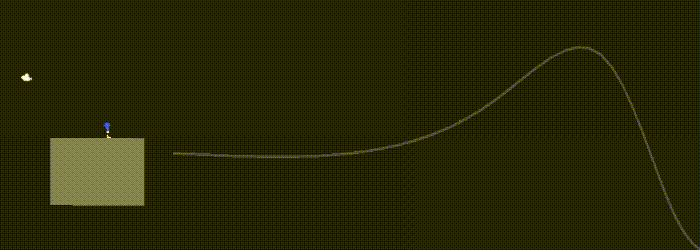
The player is rotated according to the up vector with Quaternion.LookRotation(). The velocity force is also added at the end of the rail. Here’s how it looks:
If we want to jump directly on a rail, it is also possible. I simply added a Mesh Collider and a Rigidbody to the rail and made it detect player collisions. On collision, a function GetClosestPointInCurve(Vector3 point) returns the t (between 0 and 1) of the closest point on the curve to the collision point. The player’s railProgress is then set to this value.
I made it so the camera follows the player when grinding. Here’s a huge action scene with everything:
More physics
Right now, the rails act like they do in the modern games: the speed is constant.
So before I stop working on this forever, I’d like to add the Adventure games physics, where speed on a rail is controlled by many factors:
- the rail orientation: if the rail goes down, speed is increased. But if it goes up, you might fall behind if you don’t have enough speed.
- crouching: by pressing a button on a rail that is going down, the player can gain momentum and thus, speed.
Of course, the rails in the actual games are far more polished and work way better than this demo, but it was an interesting experiment.